Quick Start
In this short introduction, we will walk through the first steps to getting up and running to capture your first dataset with Madrona on BlueOS. This guide assumes that you have already installed BlueOS on your BlueROV2 and have access to the web application.
This guide also assumes that the camera hardware is mounted and tethered to the BlueROV and is avaliable on the network.
NOTE Ensure that BlueOS is updated to a newer version, and the DHCP server is enabled. This will allow the C3 camera device to be discovered on the network.
Installation
To install Madrona, navigate to the BlueOS Extensions page after opening up BlueOS in your web browser. Madrona is named for the madrona tree, which is native to the Pacific Northwest. The tree is known for its unique bark and ability to thrive in harsh environments, making it a fitting name for this project.
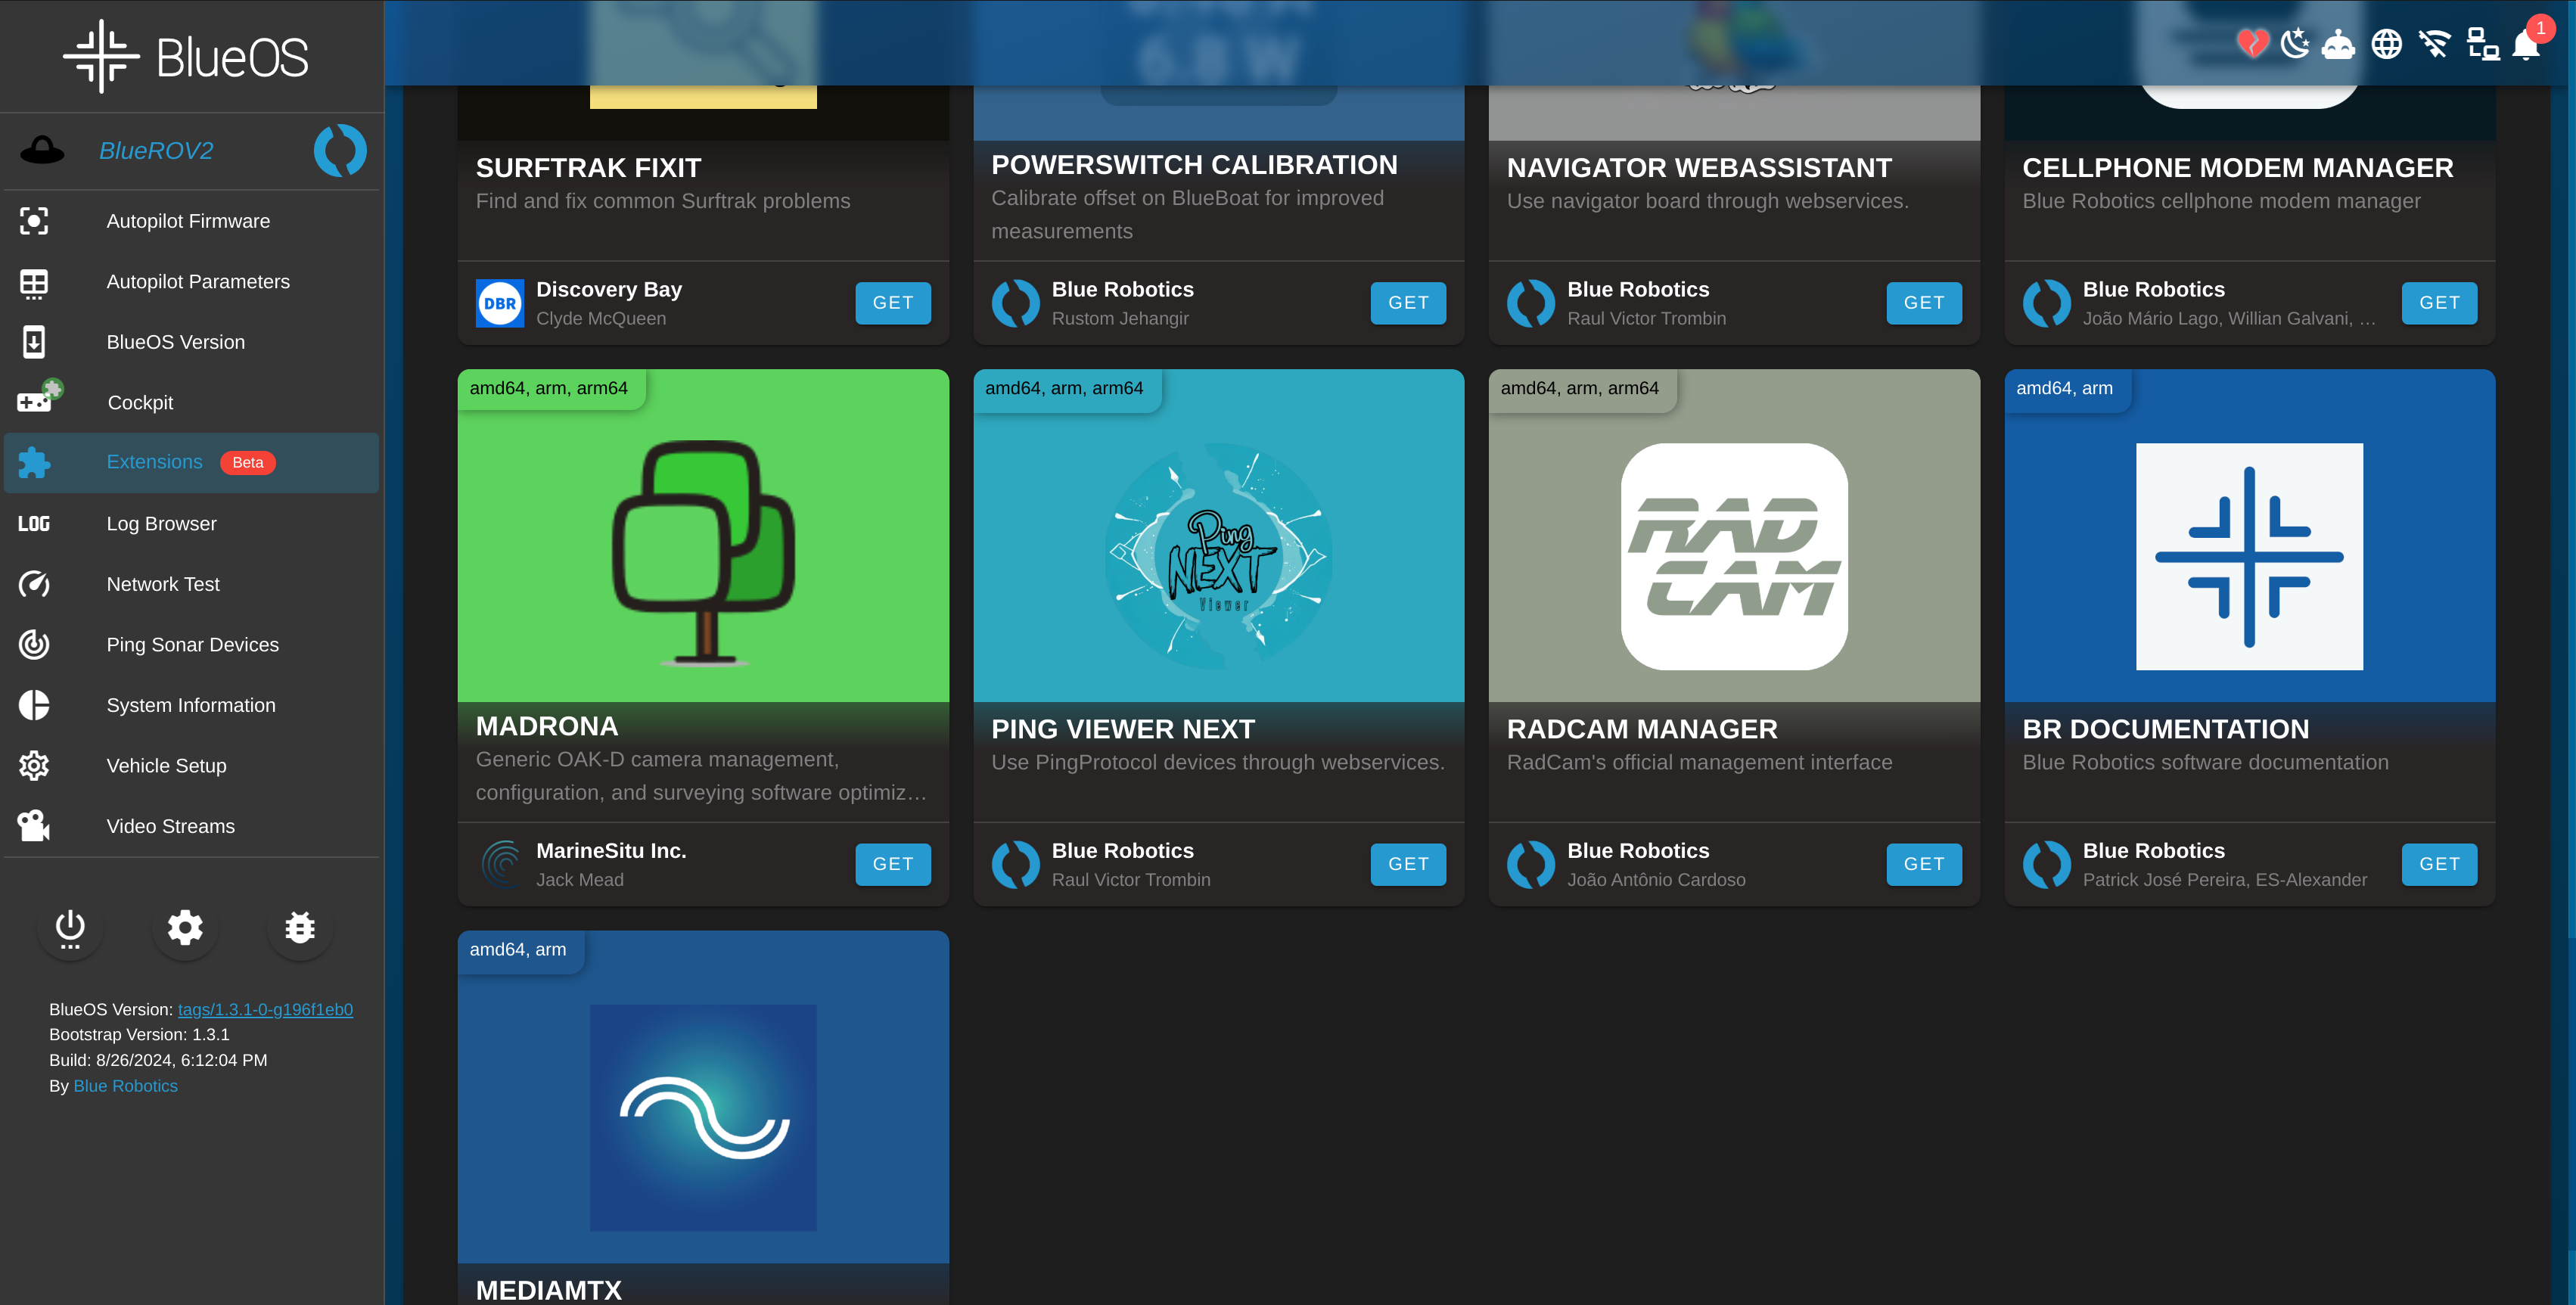
Madrona is open-sourced and will continually be pushing out new features and changes. As such, we follow the ChangeLog format to keep track of changes and updates. The latest version will be displayed on the BlueOS Extensions page.
Click the Install button to install Madrona. This will take a few minutes to download and install. Once installed, you will see a new icon in the BlueOS menu bar. Click on it to open the Madrona web application.
Configure a Profile
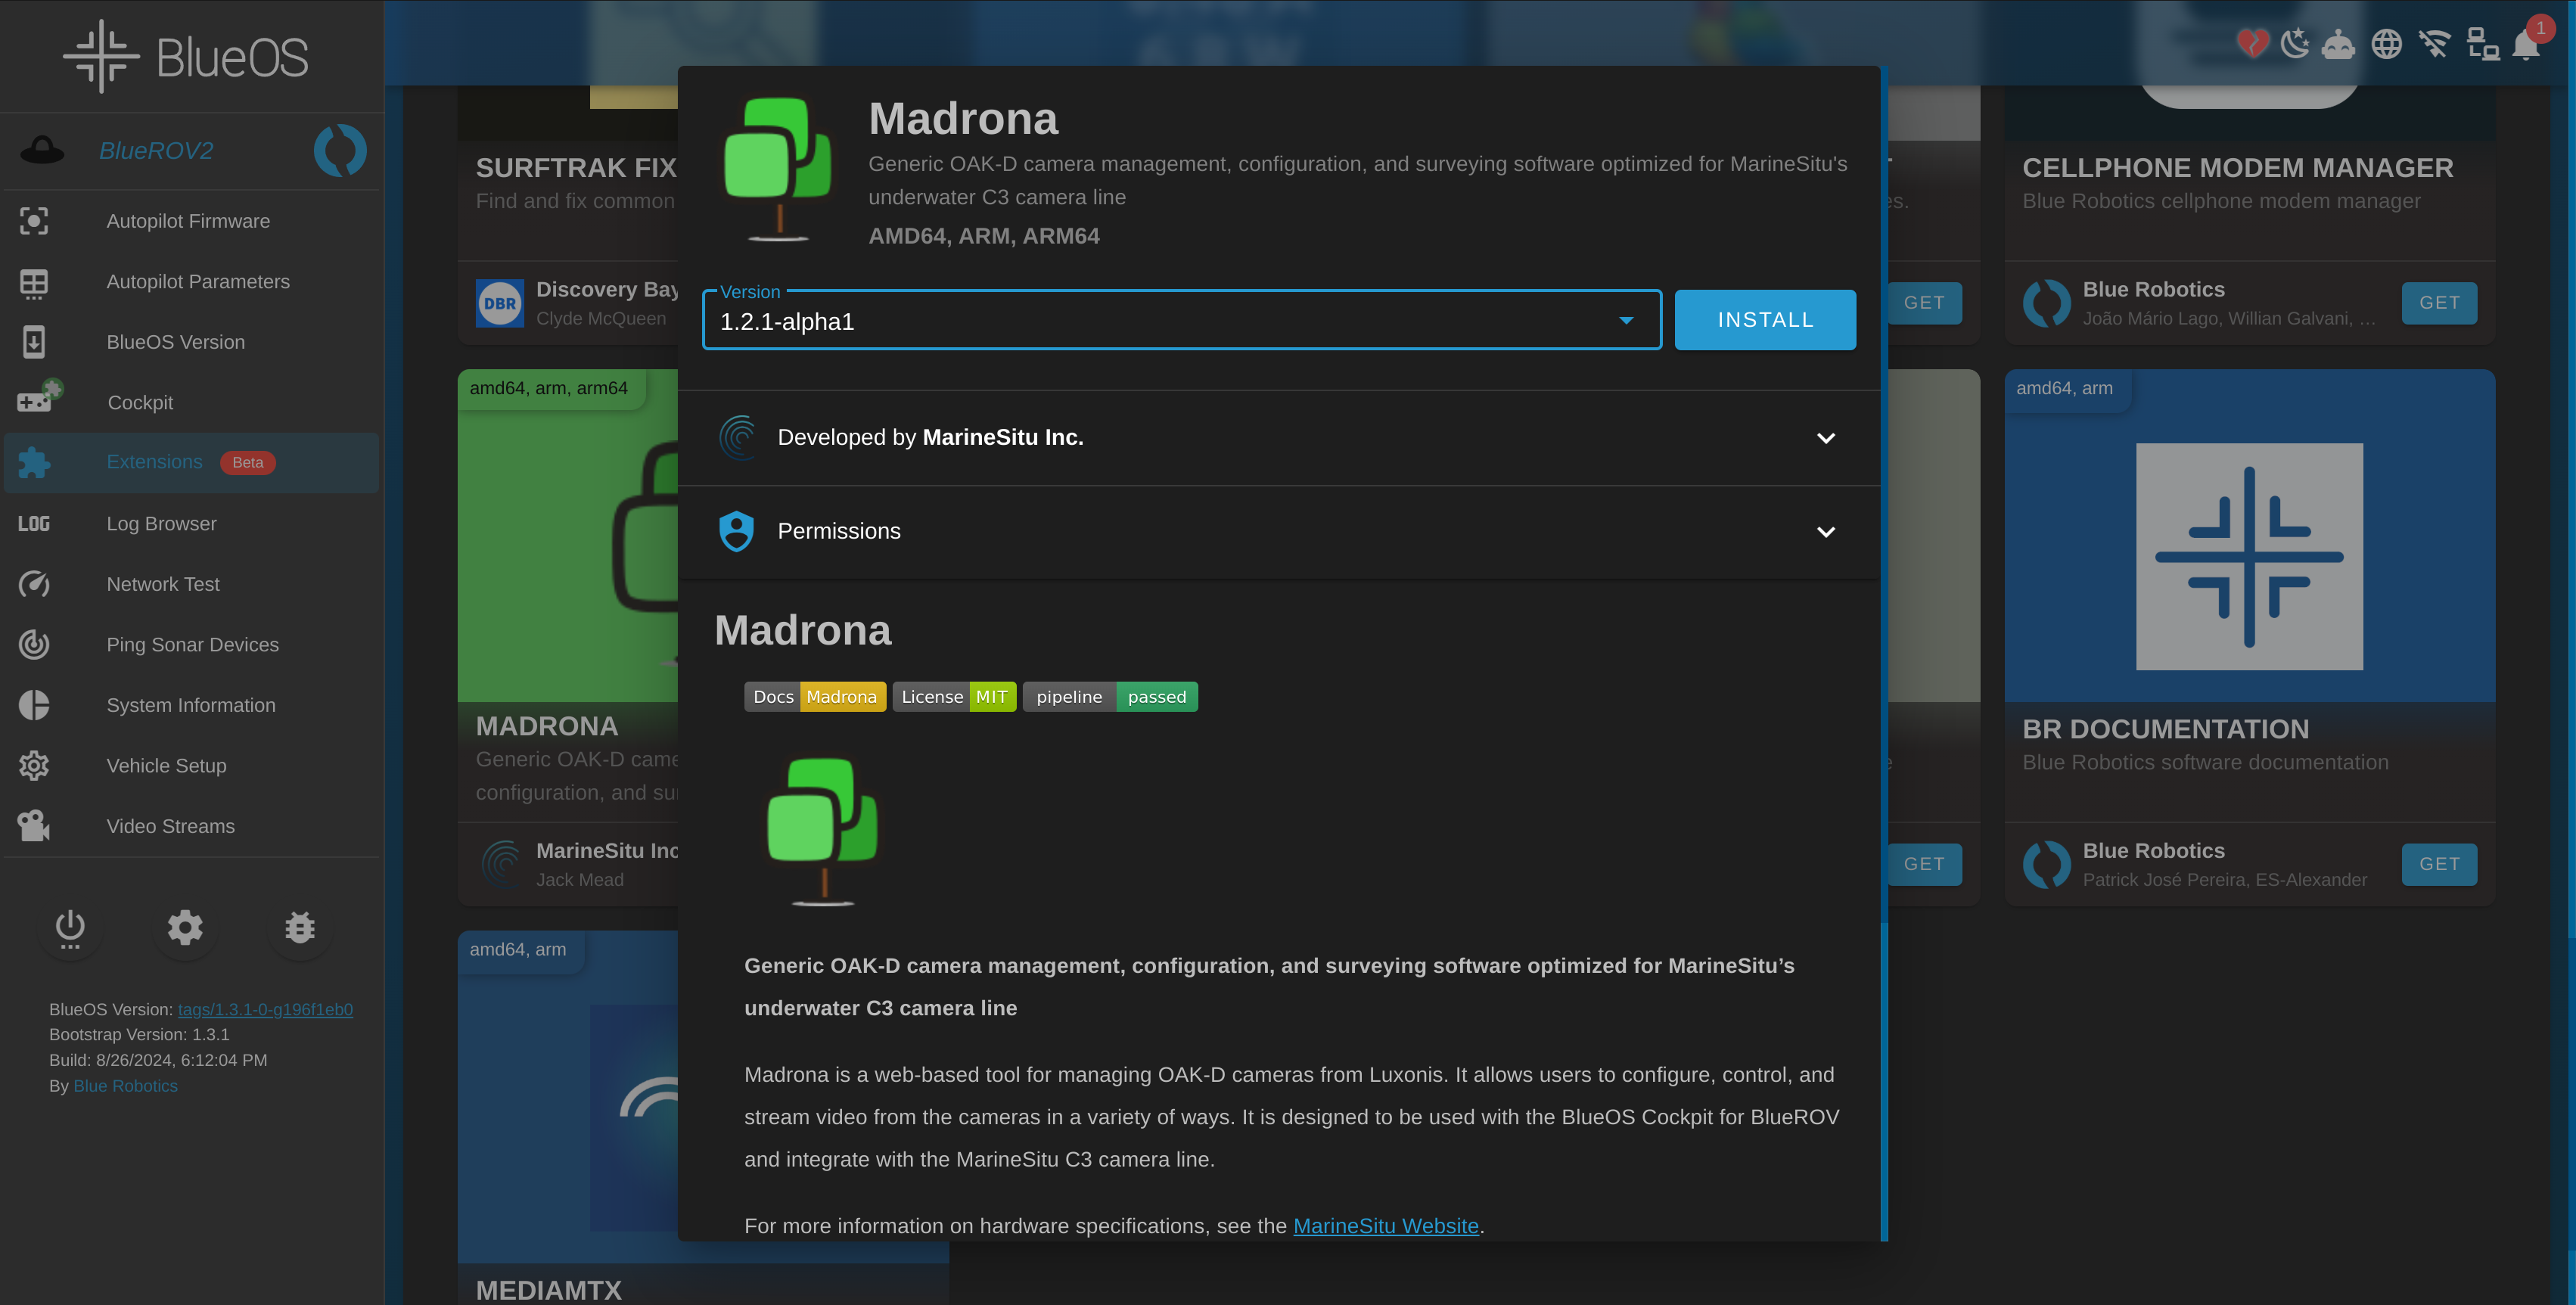
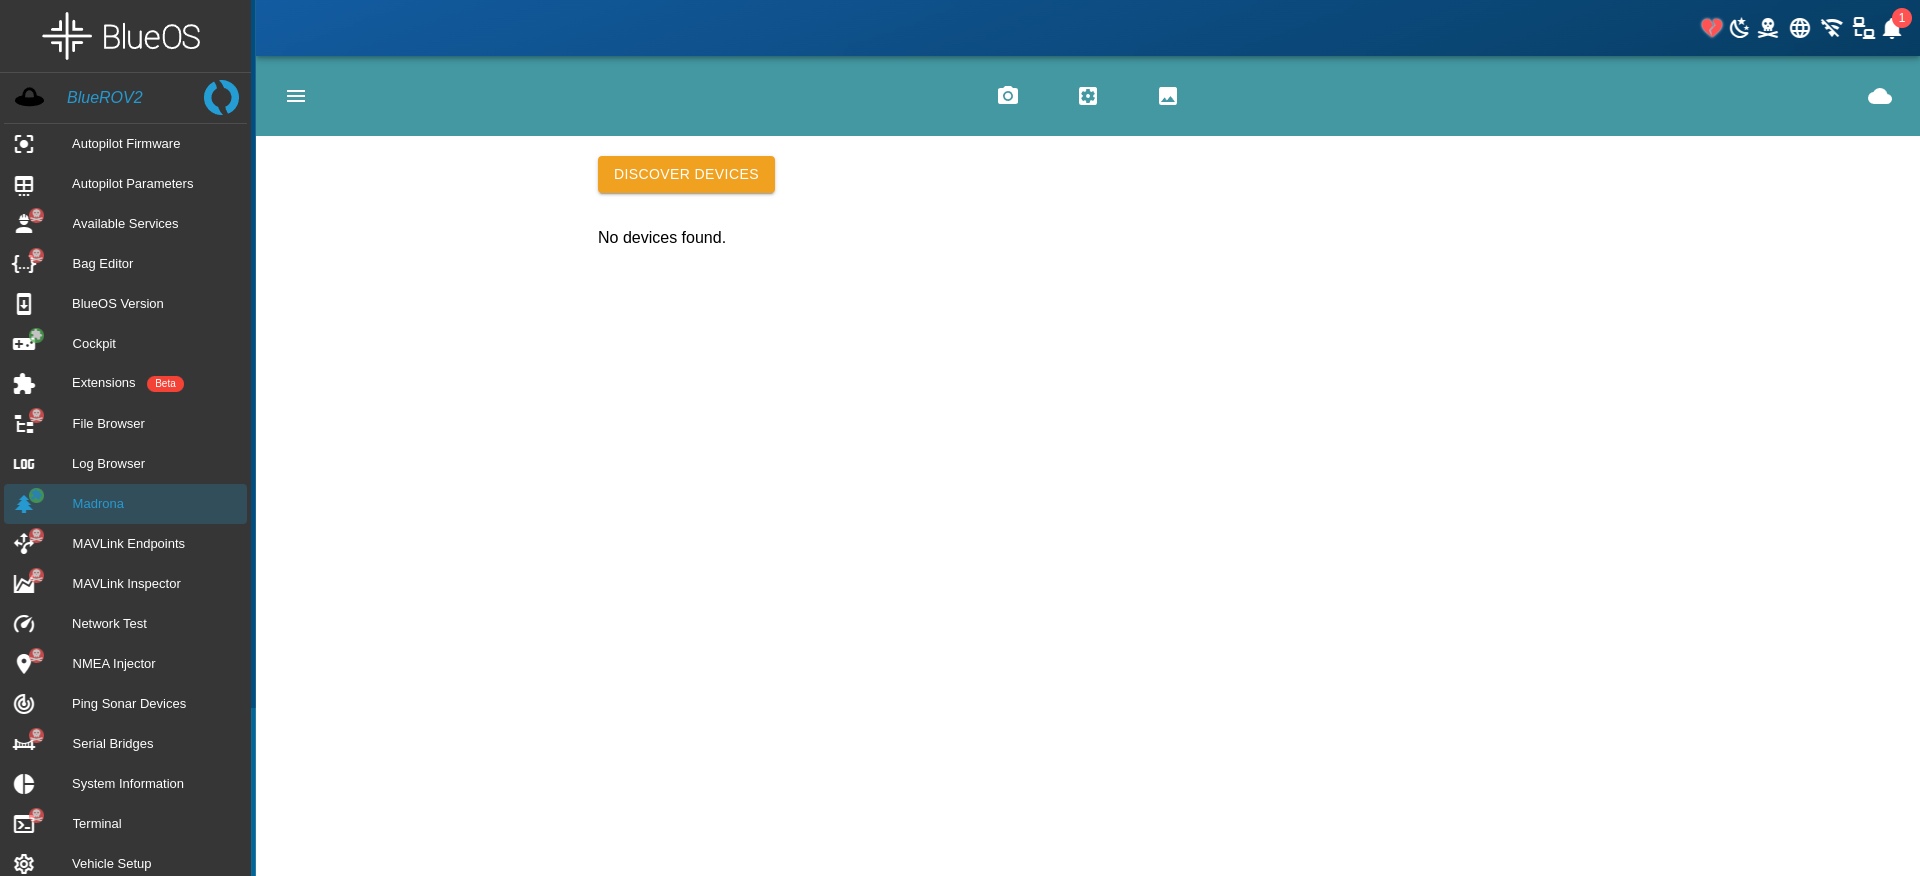
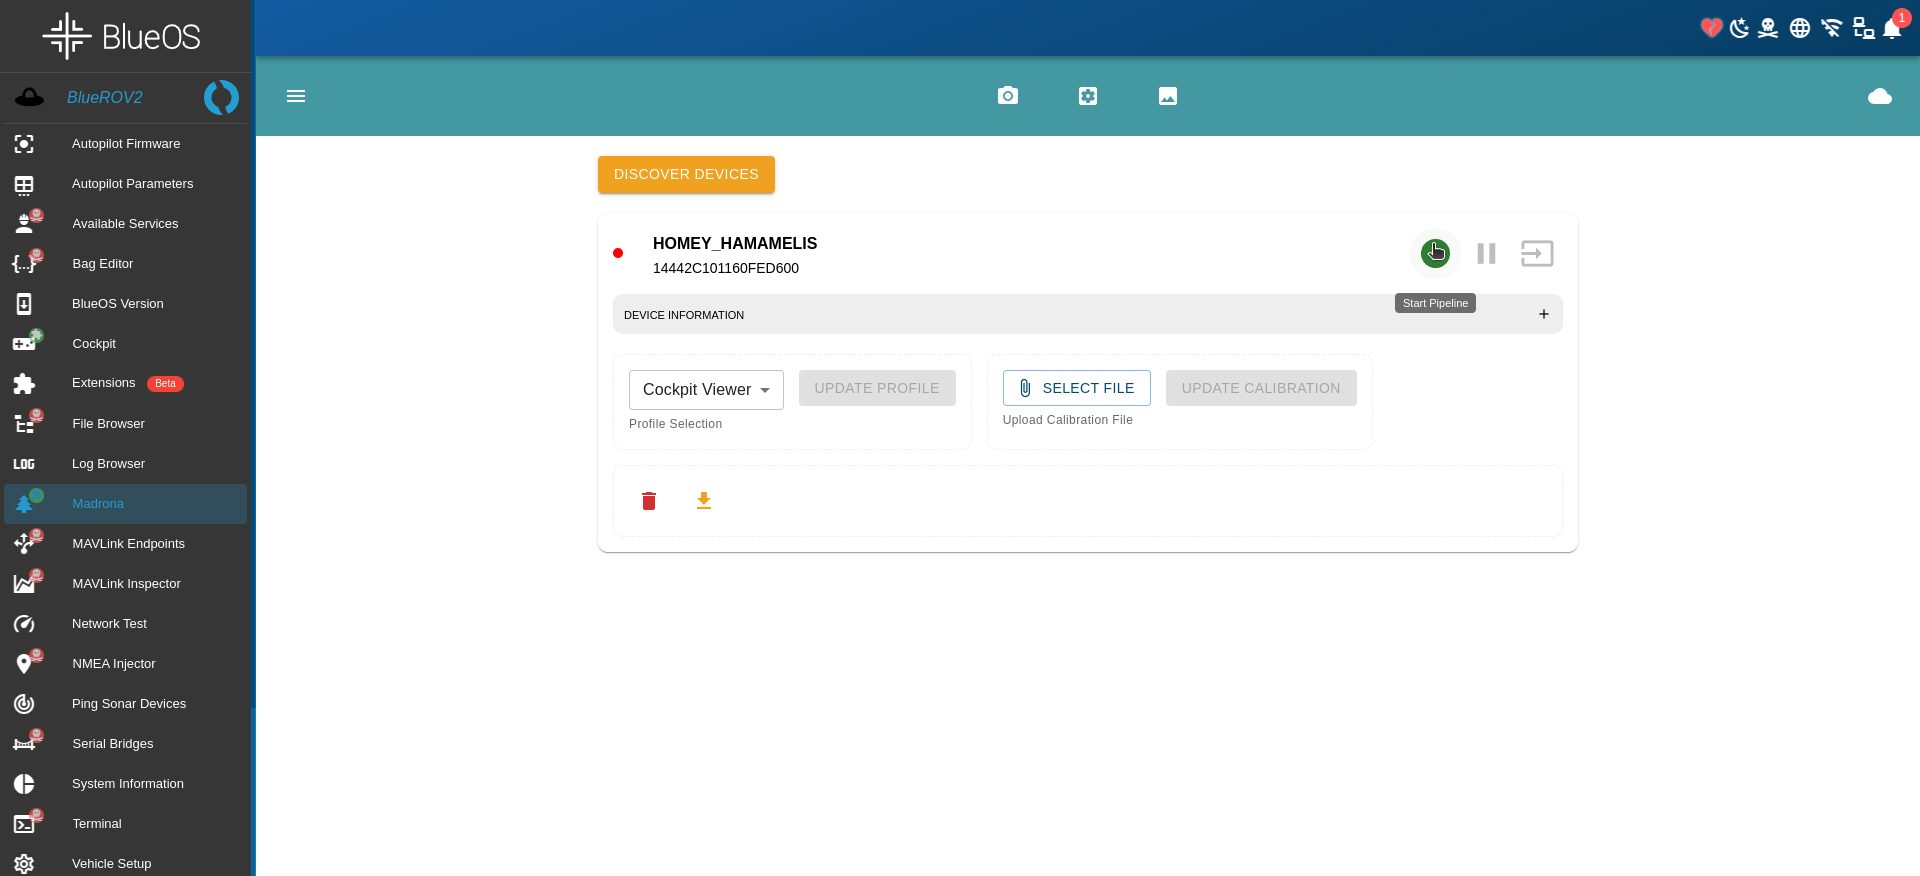
Once Madrona is installed, you will be taken to the Madrona web application. The first step is to discover a device. Click on the Discover button to search for devices on the network. This will take a few moments to complete.
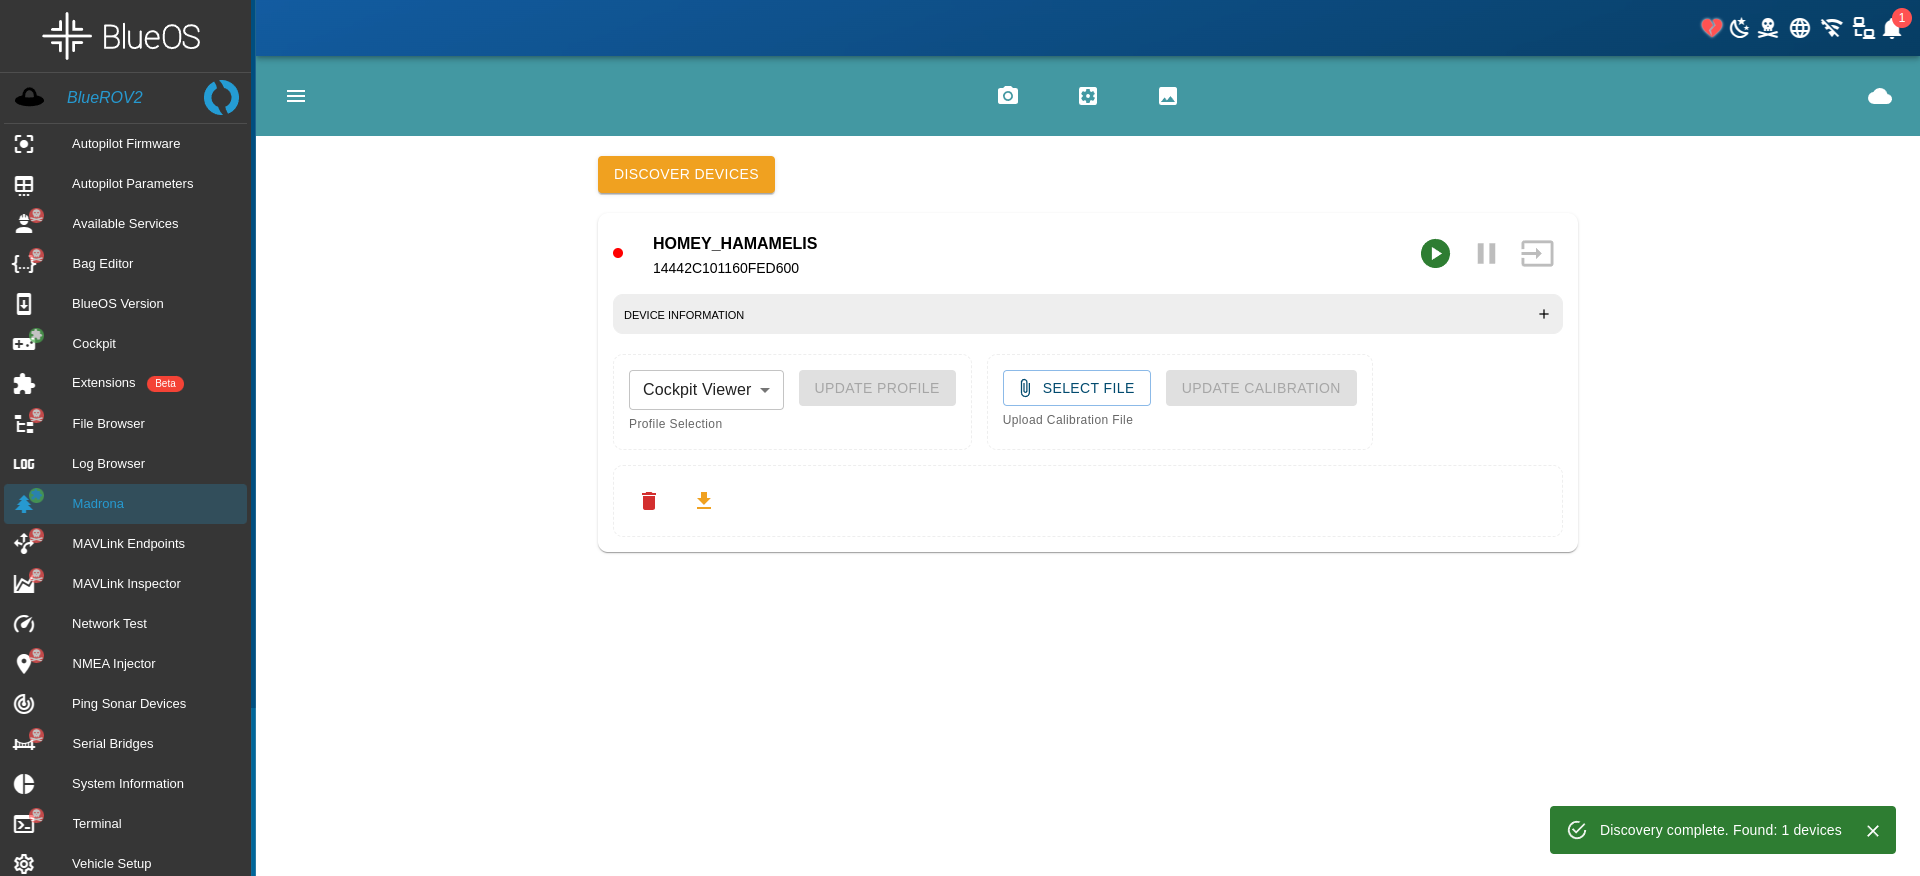
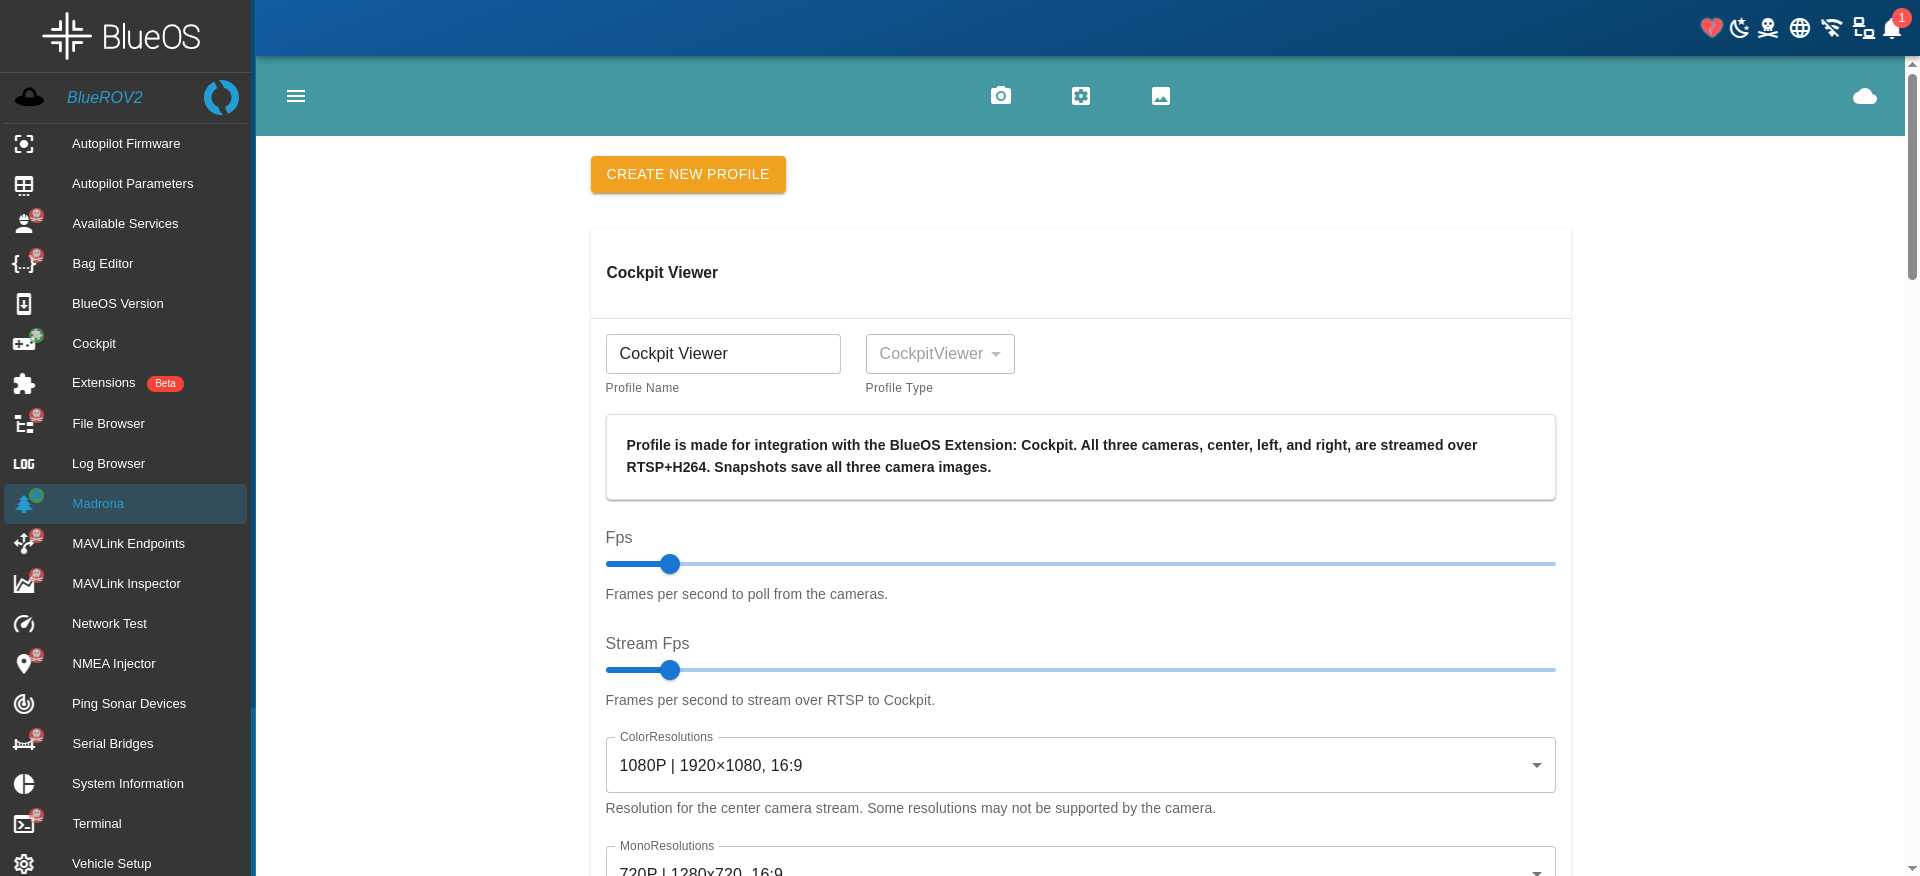
A default profile is already created for this device called "Cockpit Viewer" that is preset with the recommended settings to survey and capture a site location. This profile is a good starting point for most users. However, you can customize this profile to suit your needs or add new additional features that are included with new updates to Madrona. To do this, click on the Profiles icon to open the profile management page.
Madrona is made with customization in mind. Many of the features are modular and can be added, removed, or modified within a profile. If it's not modifiable, make a feature request to include it!
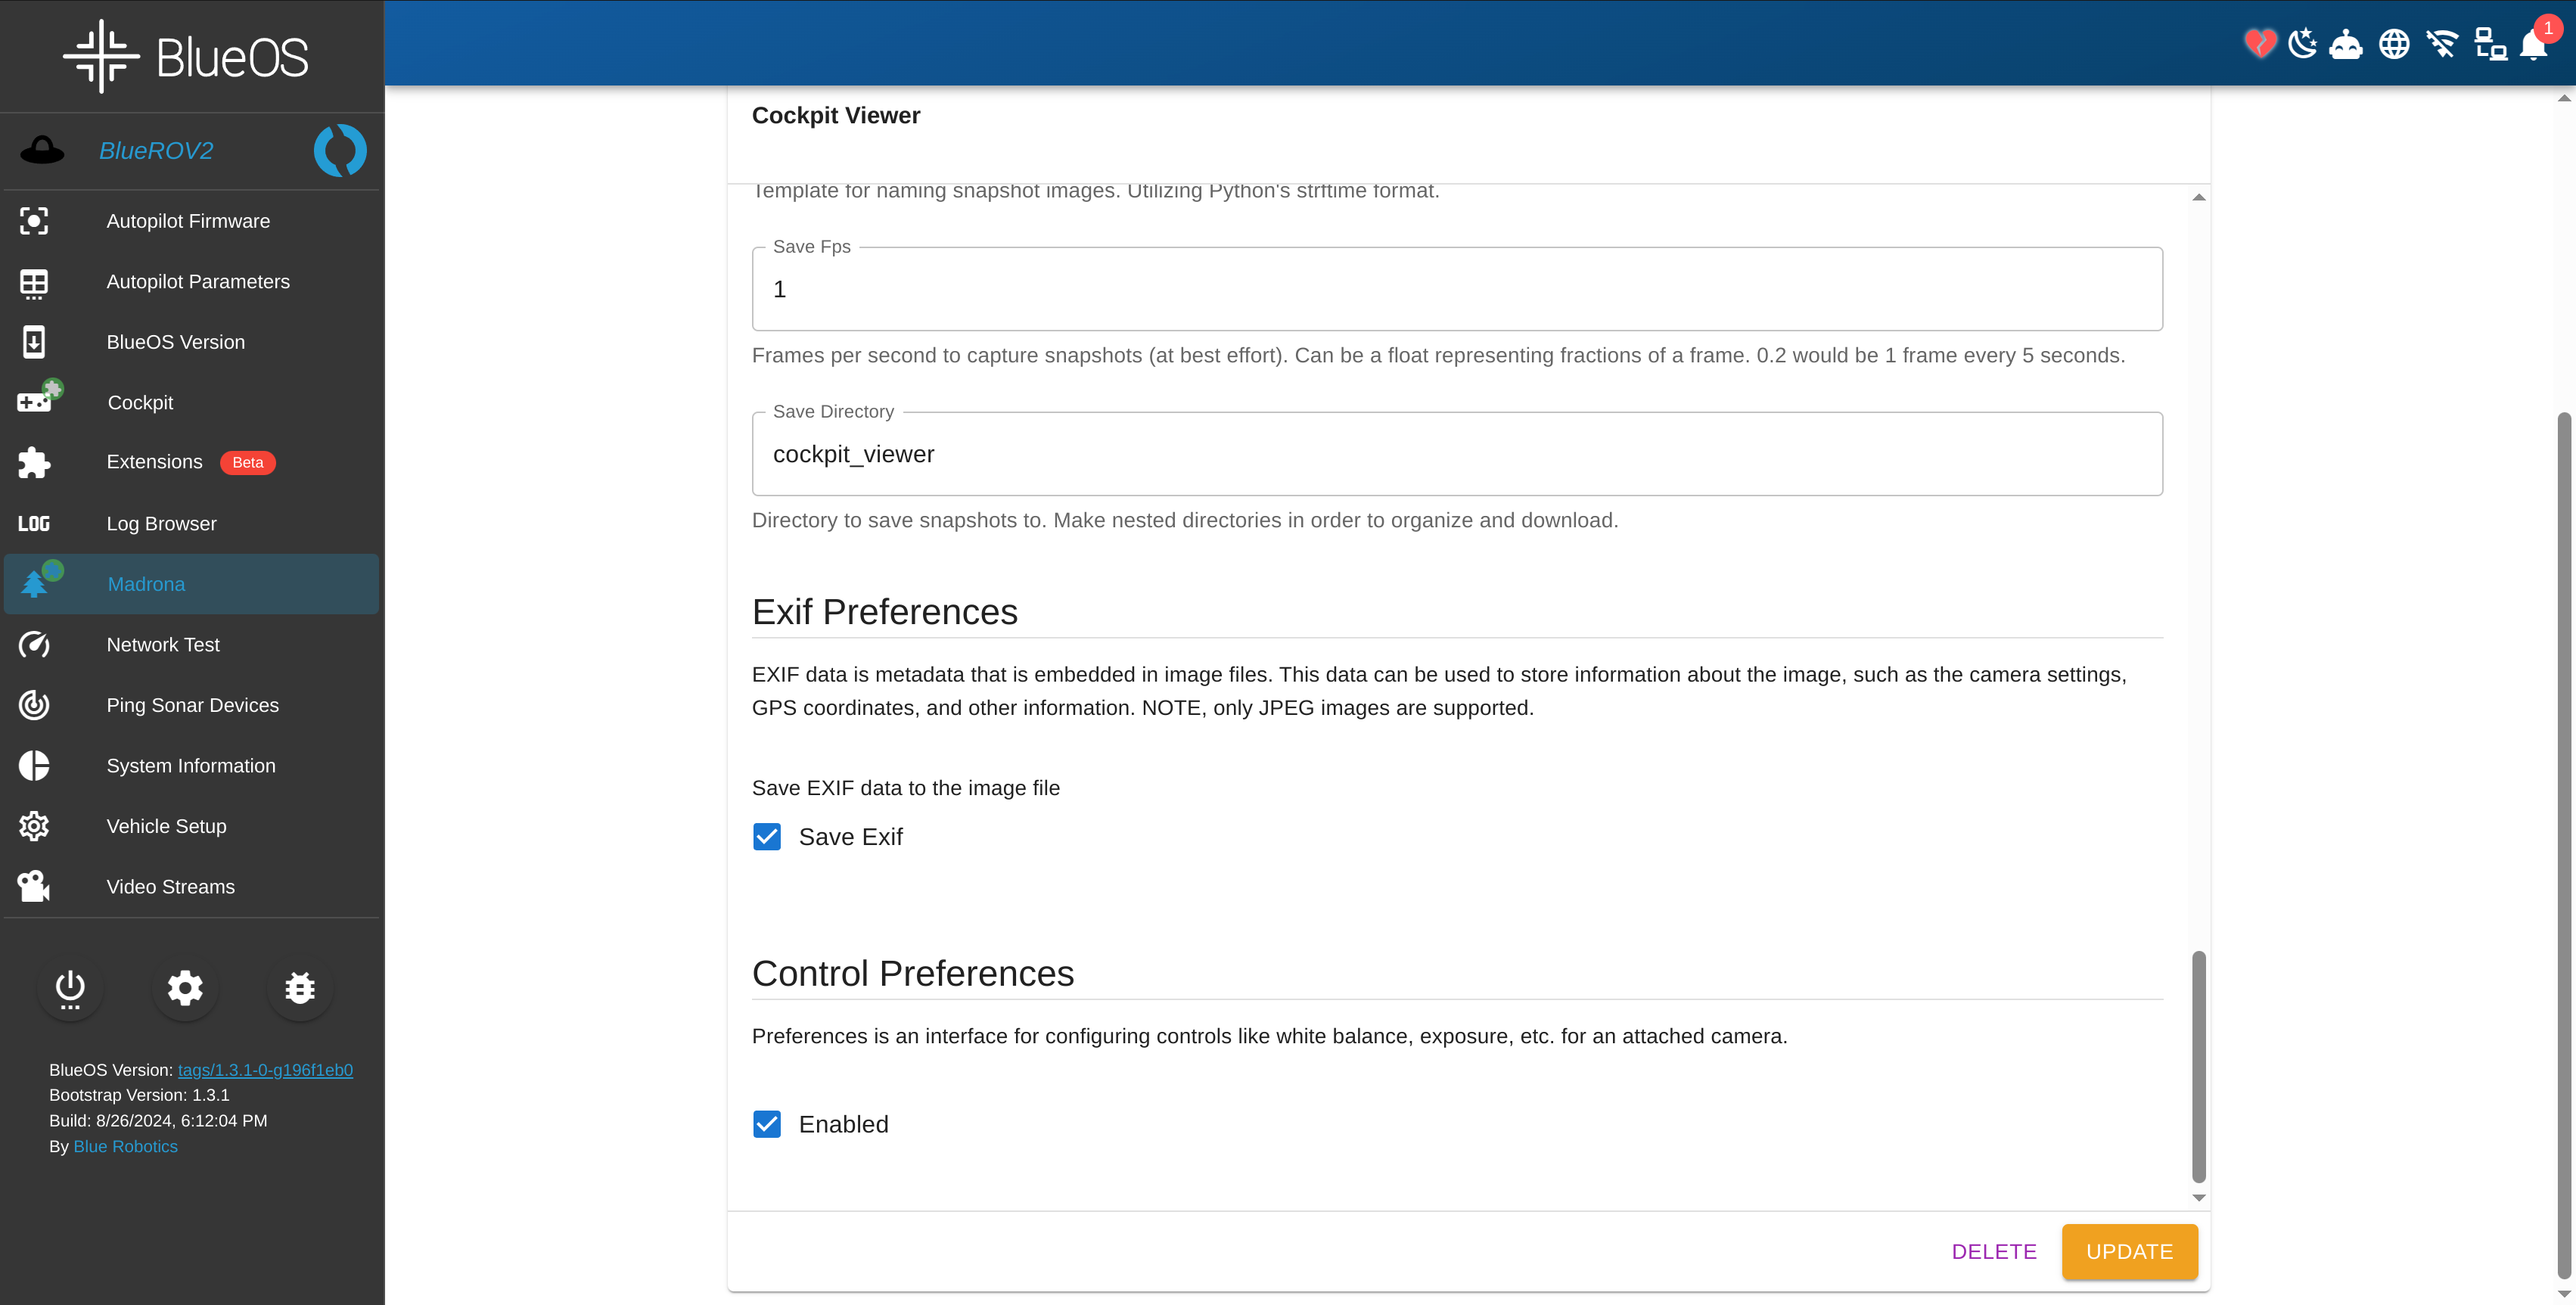
For this quickstart guide, we will select the "Save On Interval" checkbox to capture snapshots on an interval, "Save Exif" checkbox to save additional EXIF data to the image files, and "Enabled" under the Control Preferences to enable camera controls (like white balance, gain, exposure, etc.) to be controlled from the web application. Click on the Update button to save the profile.
Additional Configurations
To get the best out of this quickstart, there are some additional configurations that can be made to the Cockpit Viewer profile.
-
ColorResolution can be adjusted to change the resolution of the color camera. This is preset to 1920x1080 along with 5 FPS to balance the bandwidth and quality. To increase this, you may additionally need to decrease the FPS.
-
MonoResolution can be increased to 800 or 1200P to get the maximum resolution for the stereo cameras.
-
Quality slider can be adjusted to change the JPEG compression of the Snapshots. It is preset to 75% to balance quality and size. This can be adjusted to suit your needs.
-
Save Directory under the Snapshot preferences can be changed to save the dataset to a different directory. This is a nessesary step to save different datasets from different missions. The default directory is
cockpit_viewerand will be used for this quickstart.
Capture a Dataset
Now, navigate back to the Devices tab and click on the green play button button to start the pipeline!
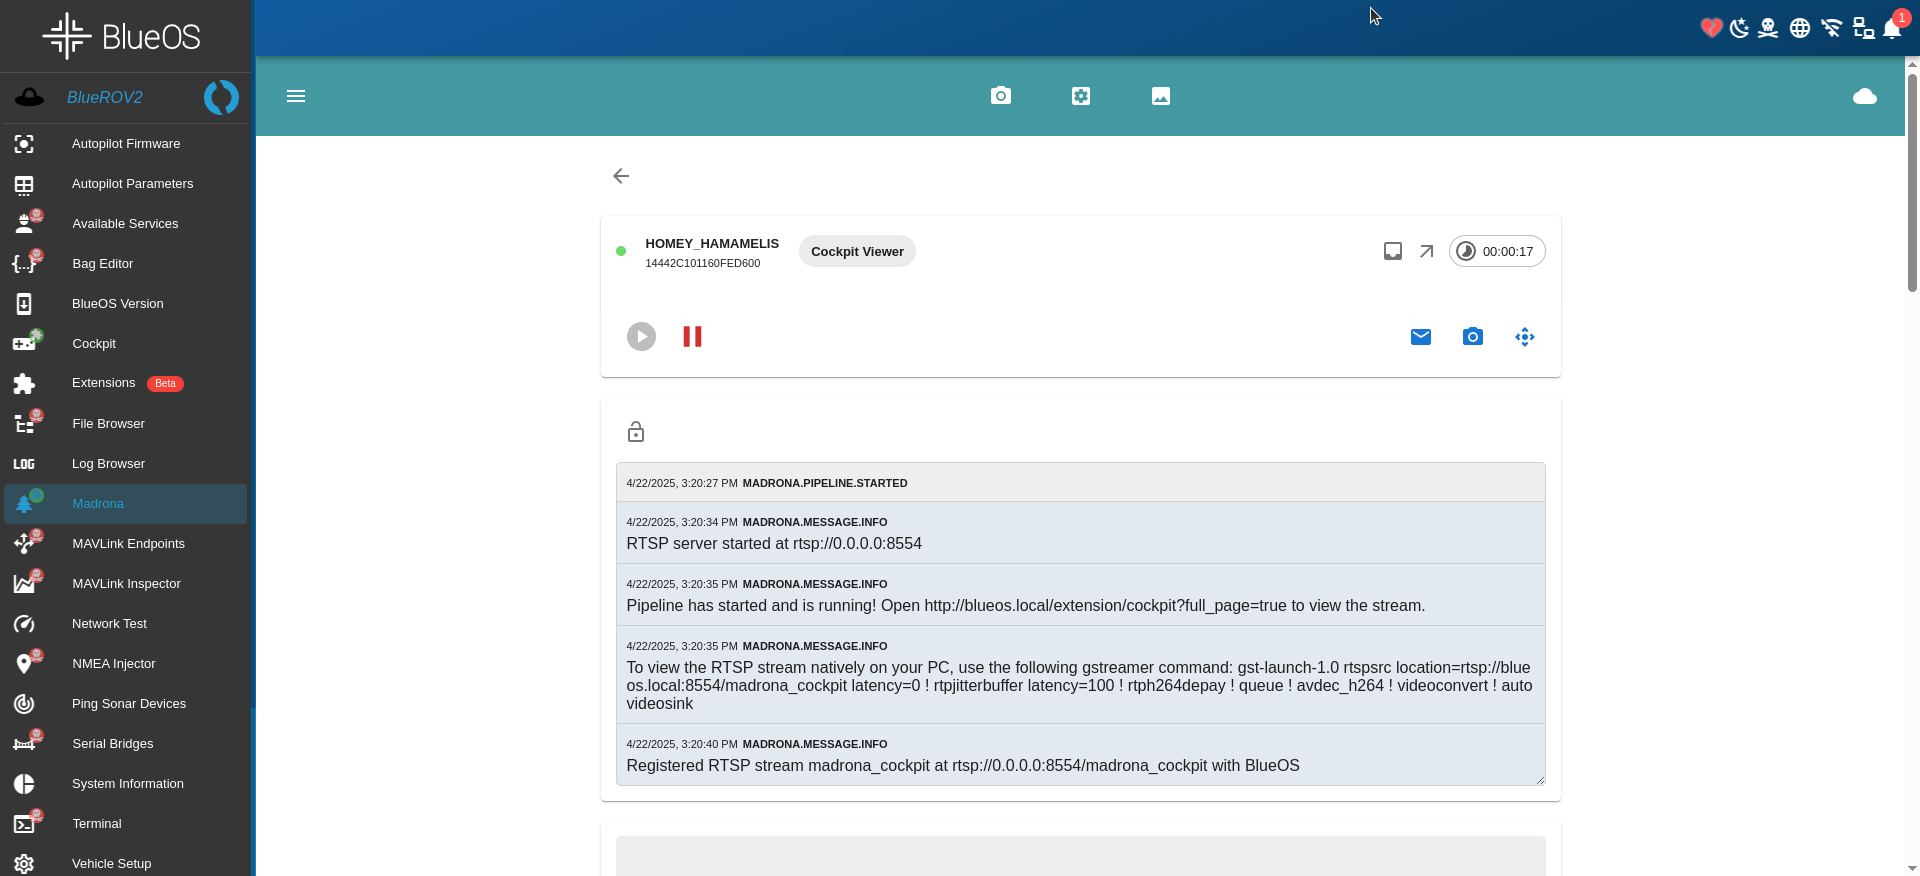
You will immediately be taken to the Pipeline page where you will be interacting with the camera and capturing a dataset. The Cockpit Viewer profile is designed to stream to the BlueOS Cockpit Extension, being discoverable as the madrona_cockpit stream.
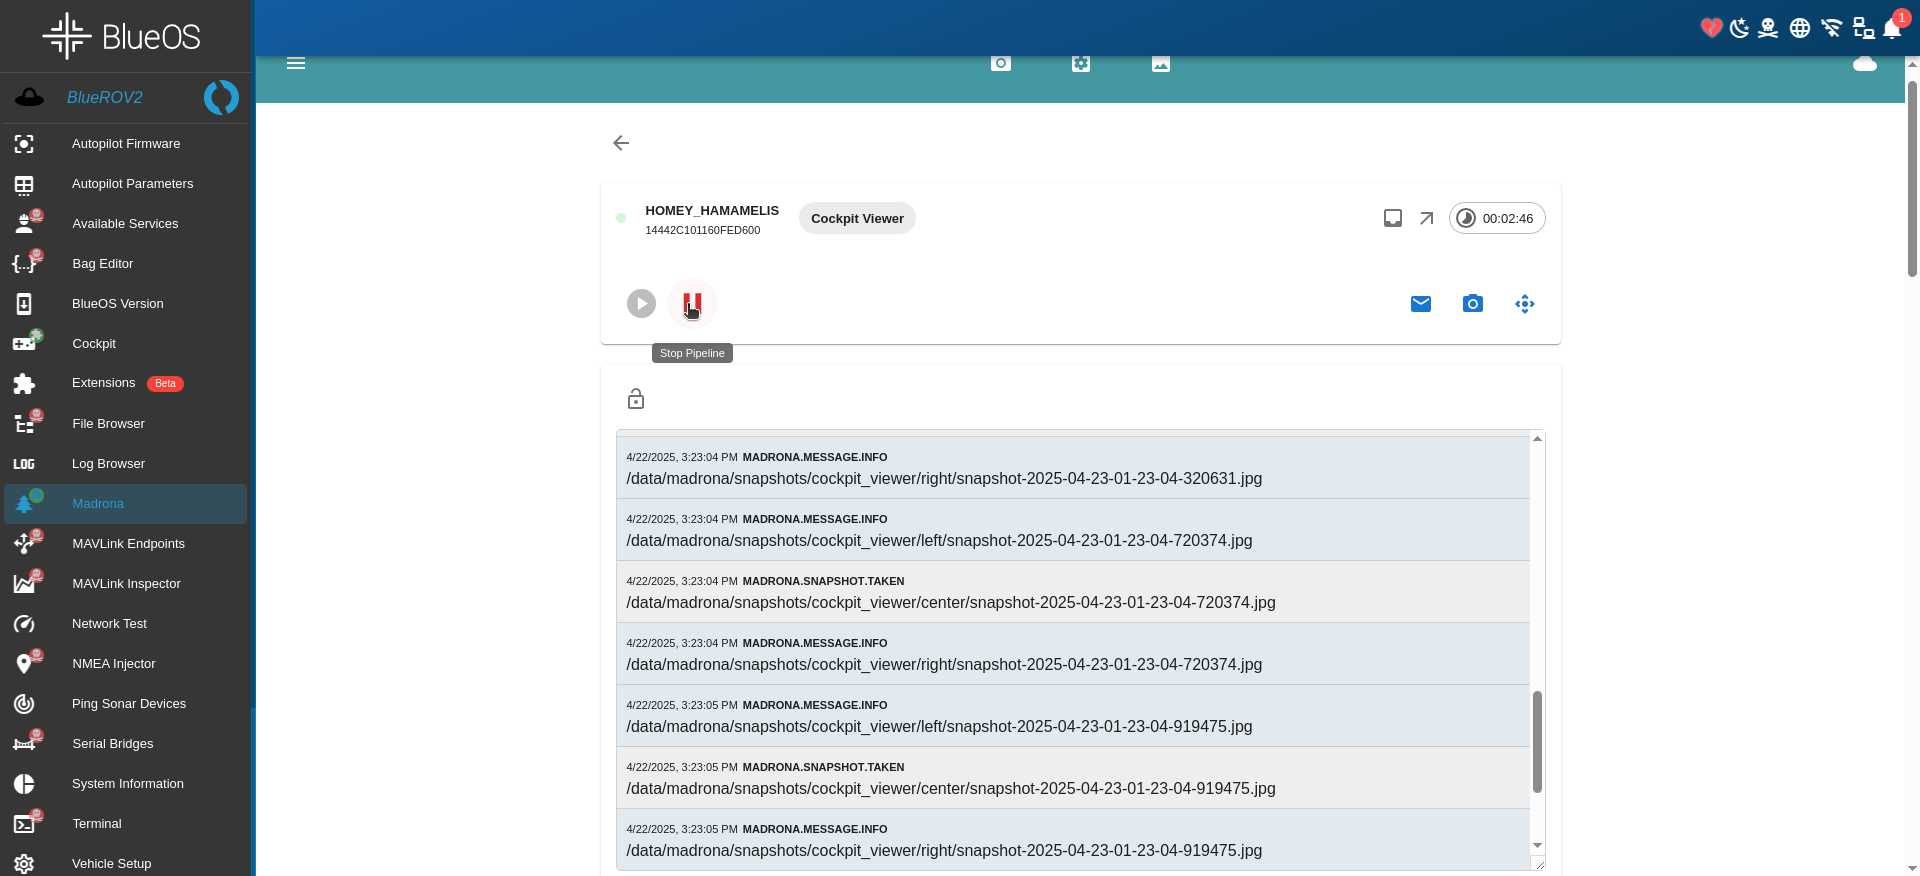
Log messages should appear showing that the pipeline start, the device was connected too, the stream was started, and the stream was registered with BlueOS.
We have enabled snapshots on interval for this profile, but the snapshots will not be taken until it is toggled on. This prevents unnecessary data collection before the ROV has been deployed on a mission. To start taking snapshots, click on the Start button to toggle it on.
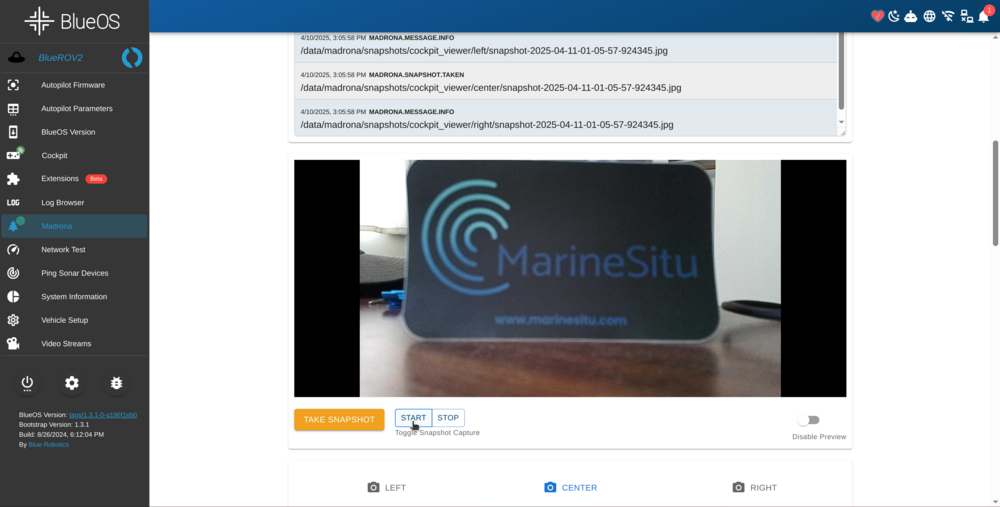
You will immediately start seeing the snapshots appear in the preview window. This can be disabled to save bandwidth by clicking the toggle button in the bottom right corner of the preview window.
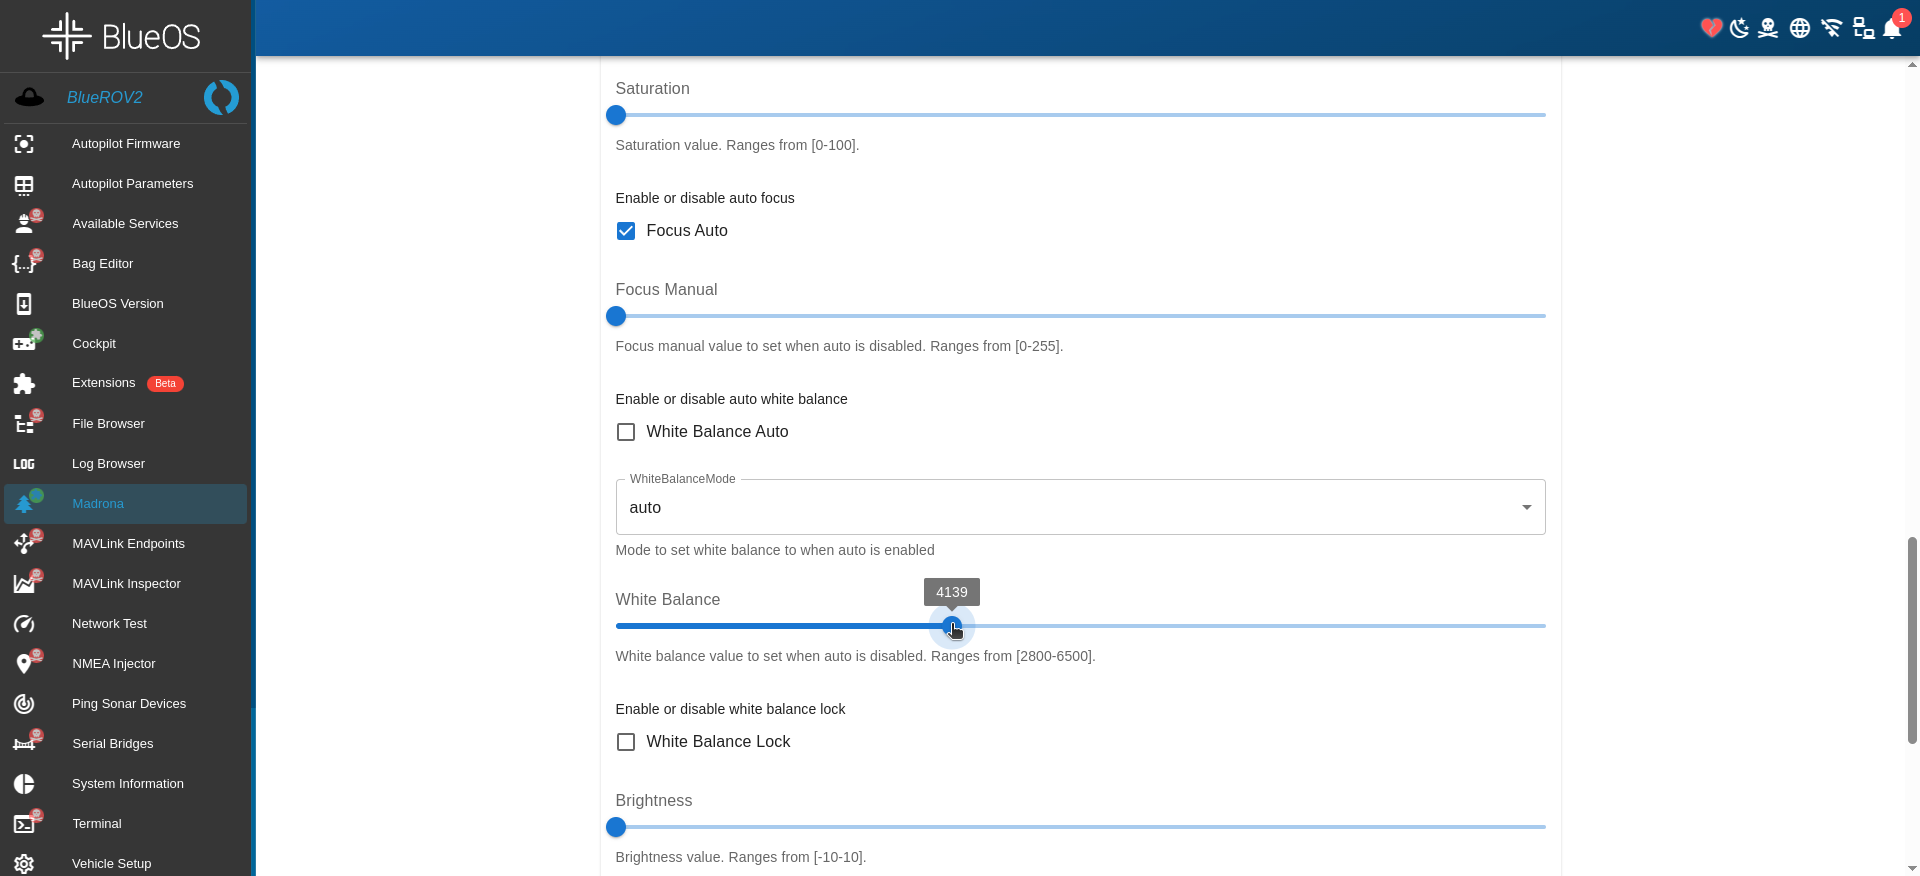
During testing pre-mission survey, you may want to adjust the white balance, exposure, focus, and other settings. Once the ROV is submergence to the location, the camera controls can be adjusted to suit the environment. To do this, scroll down to the Camera Controls section and adjust the settings for each individual camera (color center, left+right stereo) as needed.
After the settings are adjusted, you can click Take Snapshot to preview the image to see if the new settings are correct.
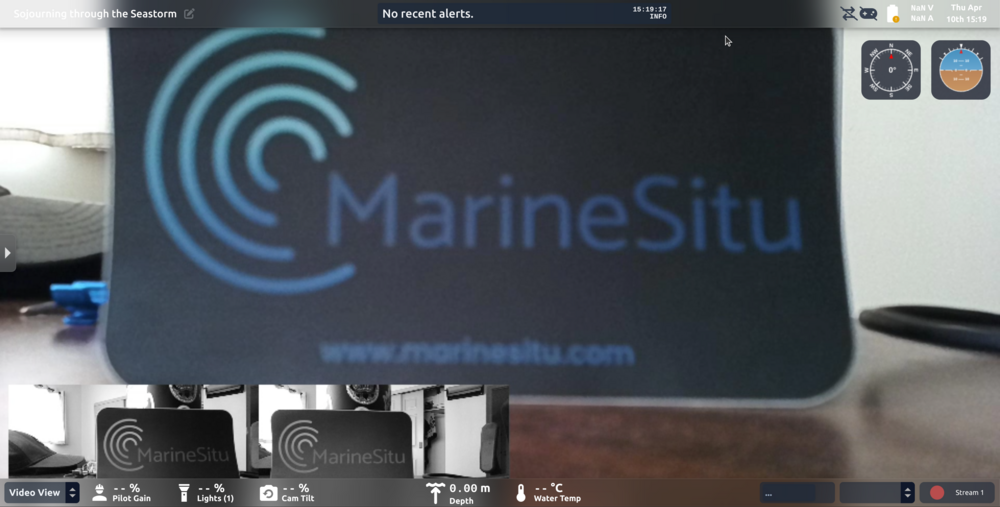
If the new settings are correct, you can launch Cockpit and select the madrona_cockpit stream to view the live stream from the cameras. This will allow you to see the live stream while doing the site survey.
Manage Your Dataset
Once you have captured all the desired data from the mission, it's time to download the dataset. Go back to the Madrona application and stop the pipeline. This will disconnect from the device and stop the stream.
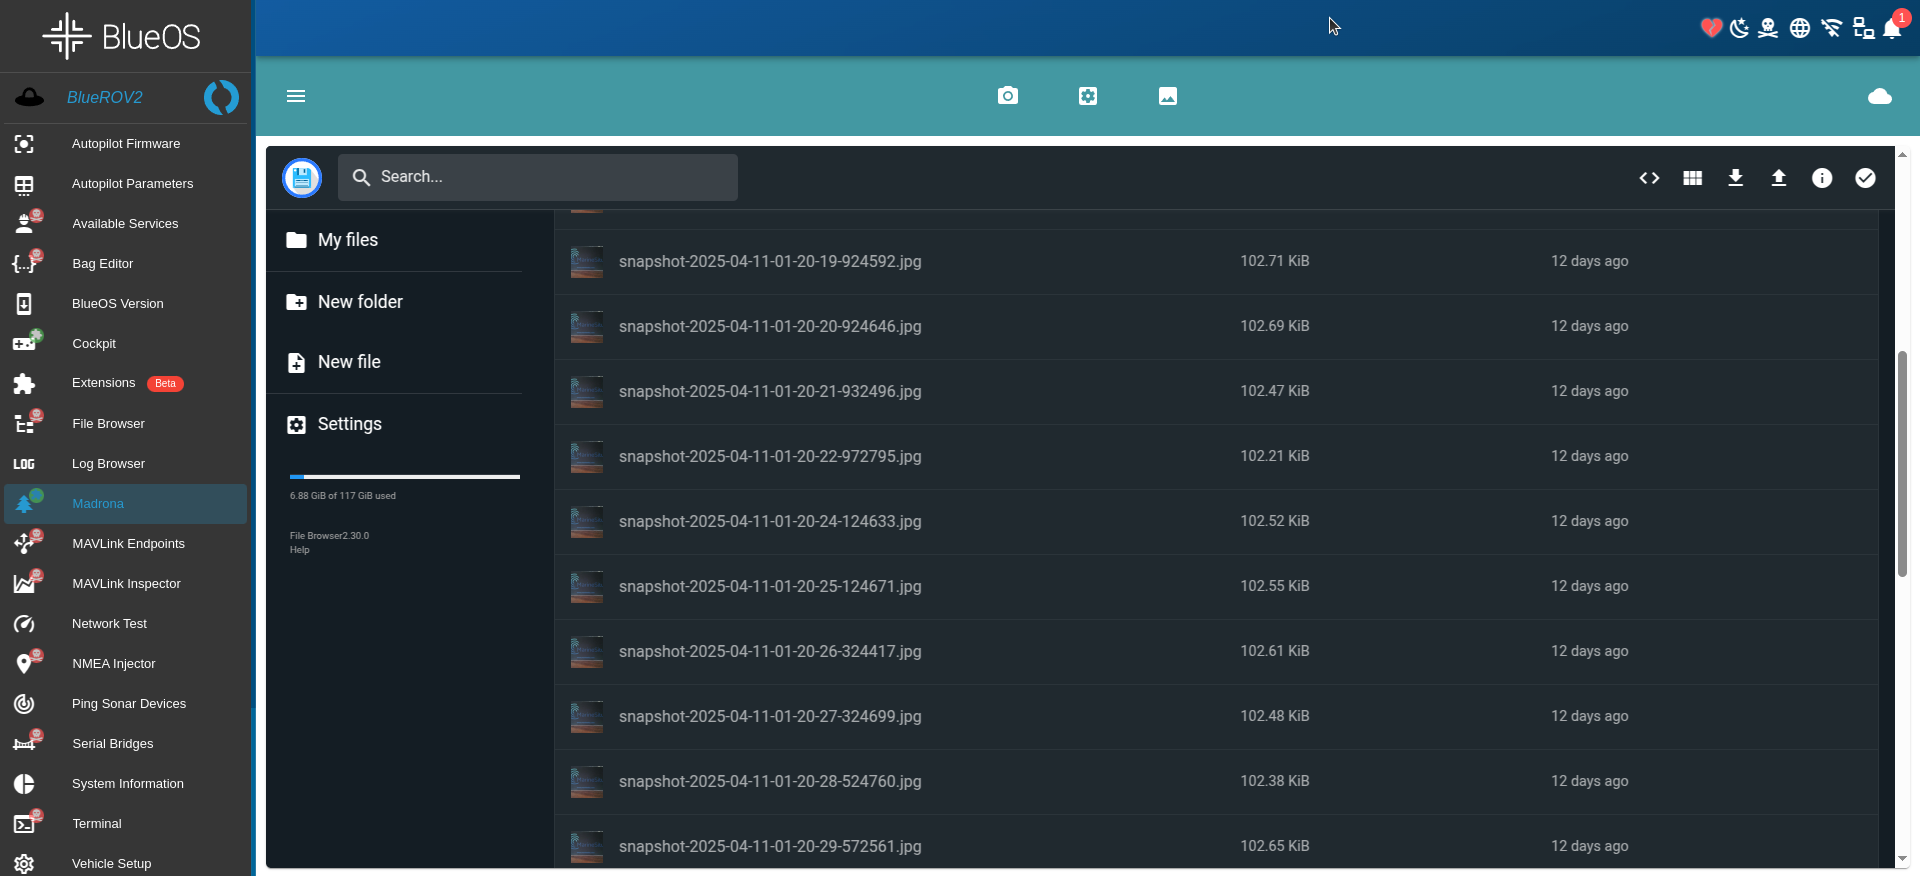
Now, navigate to the Snapshots page to view all the snapshots taken during the mission. For this profile, the directory was named cockpit_viewer. Each camera will have its own directory, left, right, and center, respectively. The whole dataset can be downloaded in one zip file by clicking on the folder and selecting the Download button. You can select a tar or zip format to download the dataset.
Downloading from the ROV can take a few minutes depending on the size of the dataset. Once the download is complete, you can extract the zip file to view the images and metadata!
Congratulations! You have successfully captured a dataset with Madrona on BlueOS. This is just the beginning of what you can do with Madrona as there are more advanced profiles and will be new features and improvements in the future. Explore the other profiles to customize your experience and capture the best data possible.