Playback and Recording
This section describes how to view a live stream from a running Pipeline and record video data to disk.
There are multiple ways to view a live stream from the selected Profile and different Profile's support many different methods.
NOTE that some Profiles may not be fully supported for live playback in BlueOS Cockpit. As of BlueOS version 1.3, only H264/H265 encoded streams are supported as a "Redirect" source. Even though some Profiles support RTSP server, and BlueOS integrations, they still may not be supported.
GStreamer Playback
If the Profile is not compatible for viewing in BlueOS Cockpit, or other connected tools, you can use the gst-launch-1.0 command locally on your PC in the terminal to view the stream. In Linux, ensure you have the gstreamer1.0-tools package installed: Installation of GStreamer.
Gstreamer elements have a lot of customizable options and can be chained together to form many complex pipelines to display, process, and record video streams. For more information on GStreamer, please see the GStreamer documentation.
Familiarize yourself with opening a terminal in Linux and the Gstreamer elements and their options to take full advantage of the camera's playback and recording capabilities.
RTP H264 Over UDP Playback
The default GStreamer pipeline for the RGBCenterBasic Profile is:
appsrc ! queue ! videoconvert ! video/x-raw,framerate=30/1,format=I420 ! x264enc tune=zerolatency ! rtph264pay ! udpsink host=0.0.0.0 port=1234
Which will output BGR frames from OpenCV at 30FPS, encode them with H264, mux them into RTP packets, and send them over UDP. After updating the udpsink host and port (to your PC's IP address and port), you can run the following command to view the stream:
gst-launch-1.0 udpsrc address=0.0.0.0 port=1234 ! application/x-rtp,media=video,clock-rate=90000 ! rtph264depay ! queue ! avdec_h264 ! videoconvert ! autovideosink
JPEG with RTP Over UDP Playback
Or mux the JPEG frames into RTP packets and send them:
appsrc ! queue ! videoconvert ! video/x-raw,framerate=30/1,format=I420 ! jpegenc quality=70 ! rtpjpegpay ! udpsink host=0.0.0.0 port=1234
And view them with:
gst-launch-1.0 udpsrc address=0.0.0.0 port=1234 ! application/x-rtp,media=video,clock-rate=90000,encoding-name=JPEG,payload=26 ! rtpjitterbuffer latency=100 ! rtpjpegdepay ! jpegdec ! videoconvert ! autovideosink
RTSP Playback
With the RTSPLiveStream Profile, you can view the stream on an RTSP server. To view it natively with Gstreamer, you can use the following command if the encoder is set to H264:
gst-launch-1.0 rtspsrc location=rtsp://0.0.0.0:8554/madrona latency=0 ! application/x-rtp,media=video,clock-rate=90000,payload=96 ! rtph264depay ! h264parse ! avdec_h264 ! videoconvert ! autovideosink
And if the encoder is set to JPEG:
gst-launch-1.0 rtspsrc location=rtsp://0.0.0.0:8554/madrona latency=0 ! application/x-rtp,media=video,clock-rate=90000,payload=96 ! rtpjpegdepay ! jpegparse ! jpegdec ! videoconvert ! autovideosink
When in doubt, Gstreamer provides a decodebin element that can automatically detect the stream type, decode it, and play it:
gst-launch-1.0 rtspsrc location=rtsp://0.0.0.0:8554/madrona latency=0 ! decodebin ! videoconvert ! autovideosink
Performance Tests
We have already conducted performance tests which makes the user re-encode the stream. The tests were performed over a local wifi network with the C3-BR
. The C3 camera module was connected to a Raspberry Pi 4B via an ethernet switch. Playback was done on seperate PC over a wifi connection. While the pipeline was running, we used the htop command to monitor CPU usage. The following results were obtained:
H264+RTP VBR Playback utilized:
appsrc ! queue ! videoconvert ! video/x-raw,framerate=<fps>/1,format=I420 ! x264enc pass=pass1 ! rtph264pay ! udpsink host=<remote ip> port=1234
JPEG+RTP Playback utilized:
appsrc ! queue ! videoconvert ! video/x-raw,framerate=<fps>/1,format=I420 ! jpegenc quality=<quality> ! rtpjpegpay ! udpsink host=<remote ip> port=1234
| Encoding/Muxing | Resolution | FPS | CPU Usage | Notes |
|---|---|---|---|---|
| H264+RTP VBR | 1920x1080 | 30 | ~90% | Stream playback barely 1FPS |
| H264+RTP VBR | 1920x1080 | 15 | ~90% | Stream playback barely 1FPS |
| H264+RTP VBR | 1280x720 | 30 | ~85% | Stream playback around 5fps with significant lag |
| H264+RTP VBR | 1280x720 | 15 | ~75% | Stream playback near 15fps with significant lag |
| H264+RTP VBR | 640x480 | 30 | ~50% | Smooth playback ~3s lag |
| H264+RTP VBR | 640x480 | 15 | ~35% | Smooth playback ~3s lag |
| JPEG+RTP qual=80% | 1920x1080 | 30 | ~90% | Slight jitter and ~2s lag |
| JPEG+RTP qual=80% | 1920x1080 | 15 | ~85% | Slight jitter and ~2s lag |
| JPEG+RTP qual=60% | 1920x1080 | 15 | ~85% | Slight jitter and ~1.5s lag |
| JPEG+RTP qual=40% | 1920x1080 | 15 | ~85% | Slight jitter and ~1s lag |
| JPEG+RTP qual=80% | 1280x720 | 30 | ~75% | Minimal jitter and ~0.5-1s lag |
| JPEG+RTP qual=80% | 1280x720 | 15 | ~50% | Minimal jitter and ~0-0.5s lag |
| JPEG+RTP qual=60% | 1280x720 | 15 | ~50% | Minimal to no jitter and ~0s lag |
| JPEG+RTP qual=80% | 640x480 | 60 | ~50% | Smooth playback ~0s lag |
| JPEG+RTP qual=80% | 640x480 | 30 | ~35% | Smooth playback ~0s lag |
GStreamer Recording
Recording video data to disk can be done with Gstreamer as well. In addition, if a profile implements the snapshots interface, images will be saved to the host device and downloaded through the UI.
To save an RTSP stream with H264 encoding to a single MP4 file, you can use the following command:
gst-launch-1.0 rtspsrc location=rtsp://0.0.0.0:8554/madrona latency=0 ! application/x-rtp,media=video,clock-rate=90000,payload=96 ! rtph264depay ! h264parse ! avdec_h264 ! videoconvert ! avenc_mpeg4 ! mp4mux ! filesink location=recording.mp4
To save multiple files, you can use the splitmuxsink element:
gst-launch-1.0 rtspsrc location=rtsp://0.0.0.0:8554/madrona latency=0 ! application/x-rtp,media=video,clock-rate=90000,payload=96 ! rtph264depay ! h264parse ! avdec_h264 ! videoconvert ! avenc_mpeg4 ! splitmuxsink muxer=mp4mux max-size-time=10000000000 location=recording_%05d.mp4
If the encoding is MJPEG, you can use the following command to save the stream to a single MP4 file:
gst-launch-1.0 rtspsrc location=rtsp://0.0.0.0:8554/madrona latency=0 ! application/x-rtp,media=video,clock-rate=90000,payload=26 ! rtpjpegdepay ! jpegparse ! jpegdec ! videoconvert ! avenc_mpeg4 ! mp4mux ! filesink location=recording.mp4
And to save multiple files:
gst-launch-1.0 rtspsrc location=rtsp://0.0.0.0:8554/madrona latency=0 ! application/x-rtp,media=video,clock-rate=90000,payload=26 ! rtpjpegdepay ! jpegparse ! jpegdec ! videoconvert ! avenc_mpeg4 ! splitmuxsink muxer=mp4mux max-size-time=10000000000 location=recording_%05d.mp4
For maximum quality, the AVI format can be used with the avimux element:
gst-launch-1.0 rtspsrc location=rtsp://0.0.0.0:8554/madrona latency=0 ! application/x-rtp,media=video,clock-rate=90000,payload=26 ! rtpjpegdepay ! jpegparse ! jpegdec ! videoconvert ! avenc_mpeg4 ! splitmuxsink muxer=avimux max-size-time=10000000000 location=recording_%05d.avi
Snapshots Interface Recording
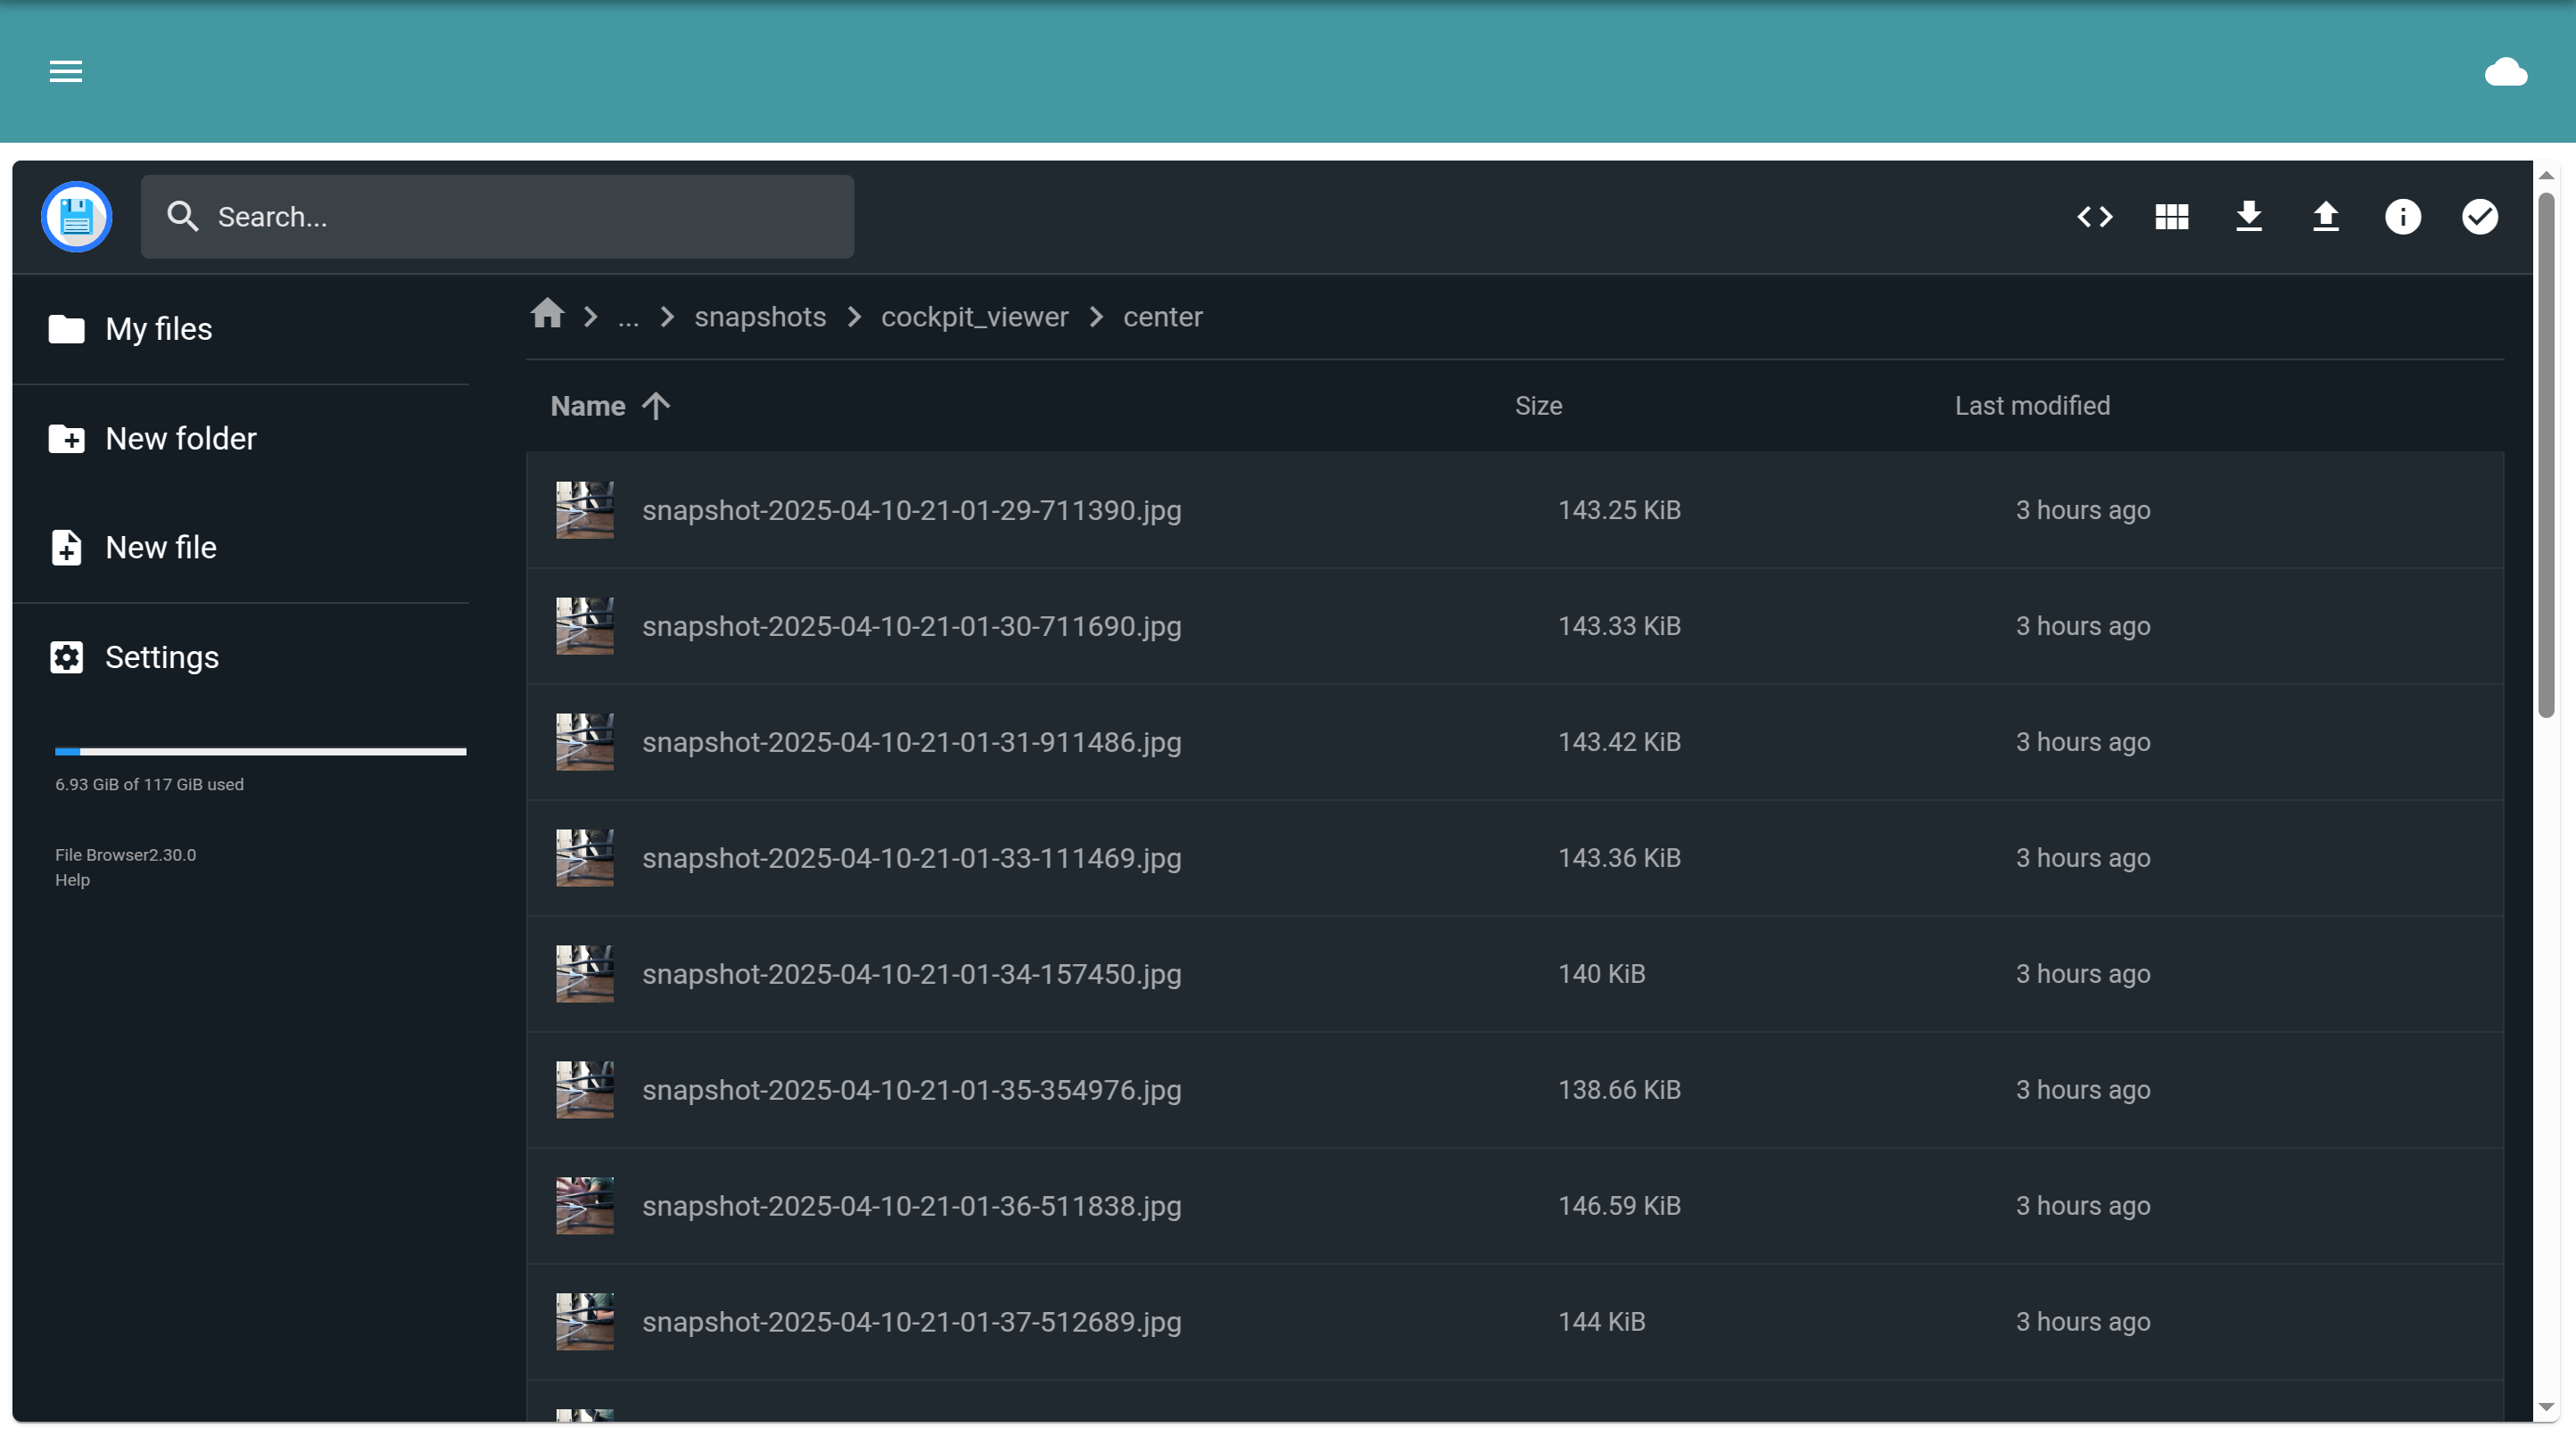
If the profile implements the snapshots interface, you can save images on an interval or on demand directly through the UI. Images will be saved with the templated name the user specifies underneath the folder they select.
The interface is powered by Filebrowser that comes preinstalled with BlueOS. It works the same as the file browser on your computer, allowing you to view, download, and delete files.

BlueOS Cockpit Playback And Recording
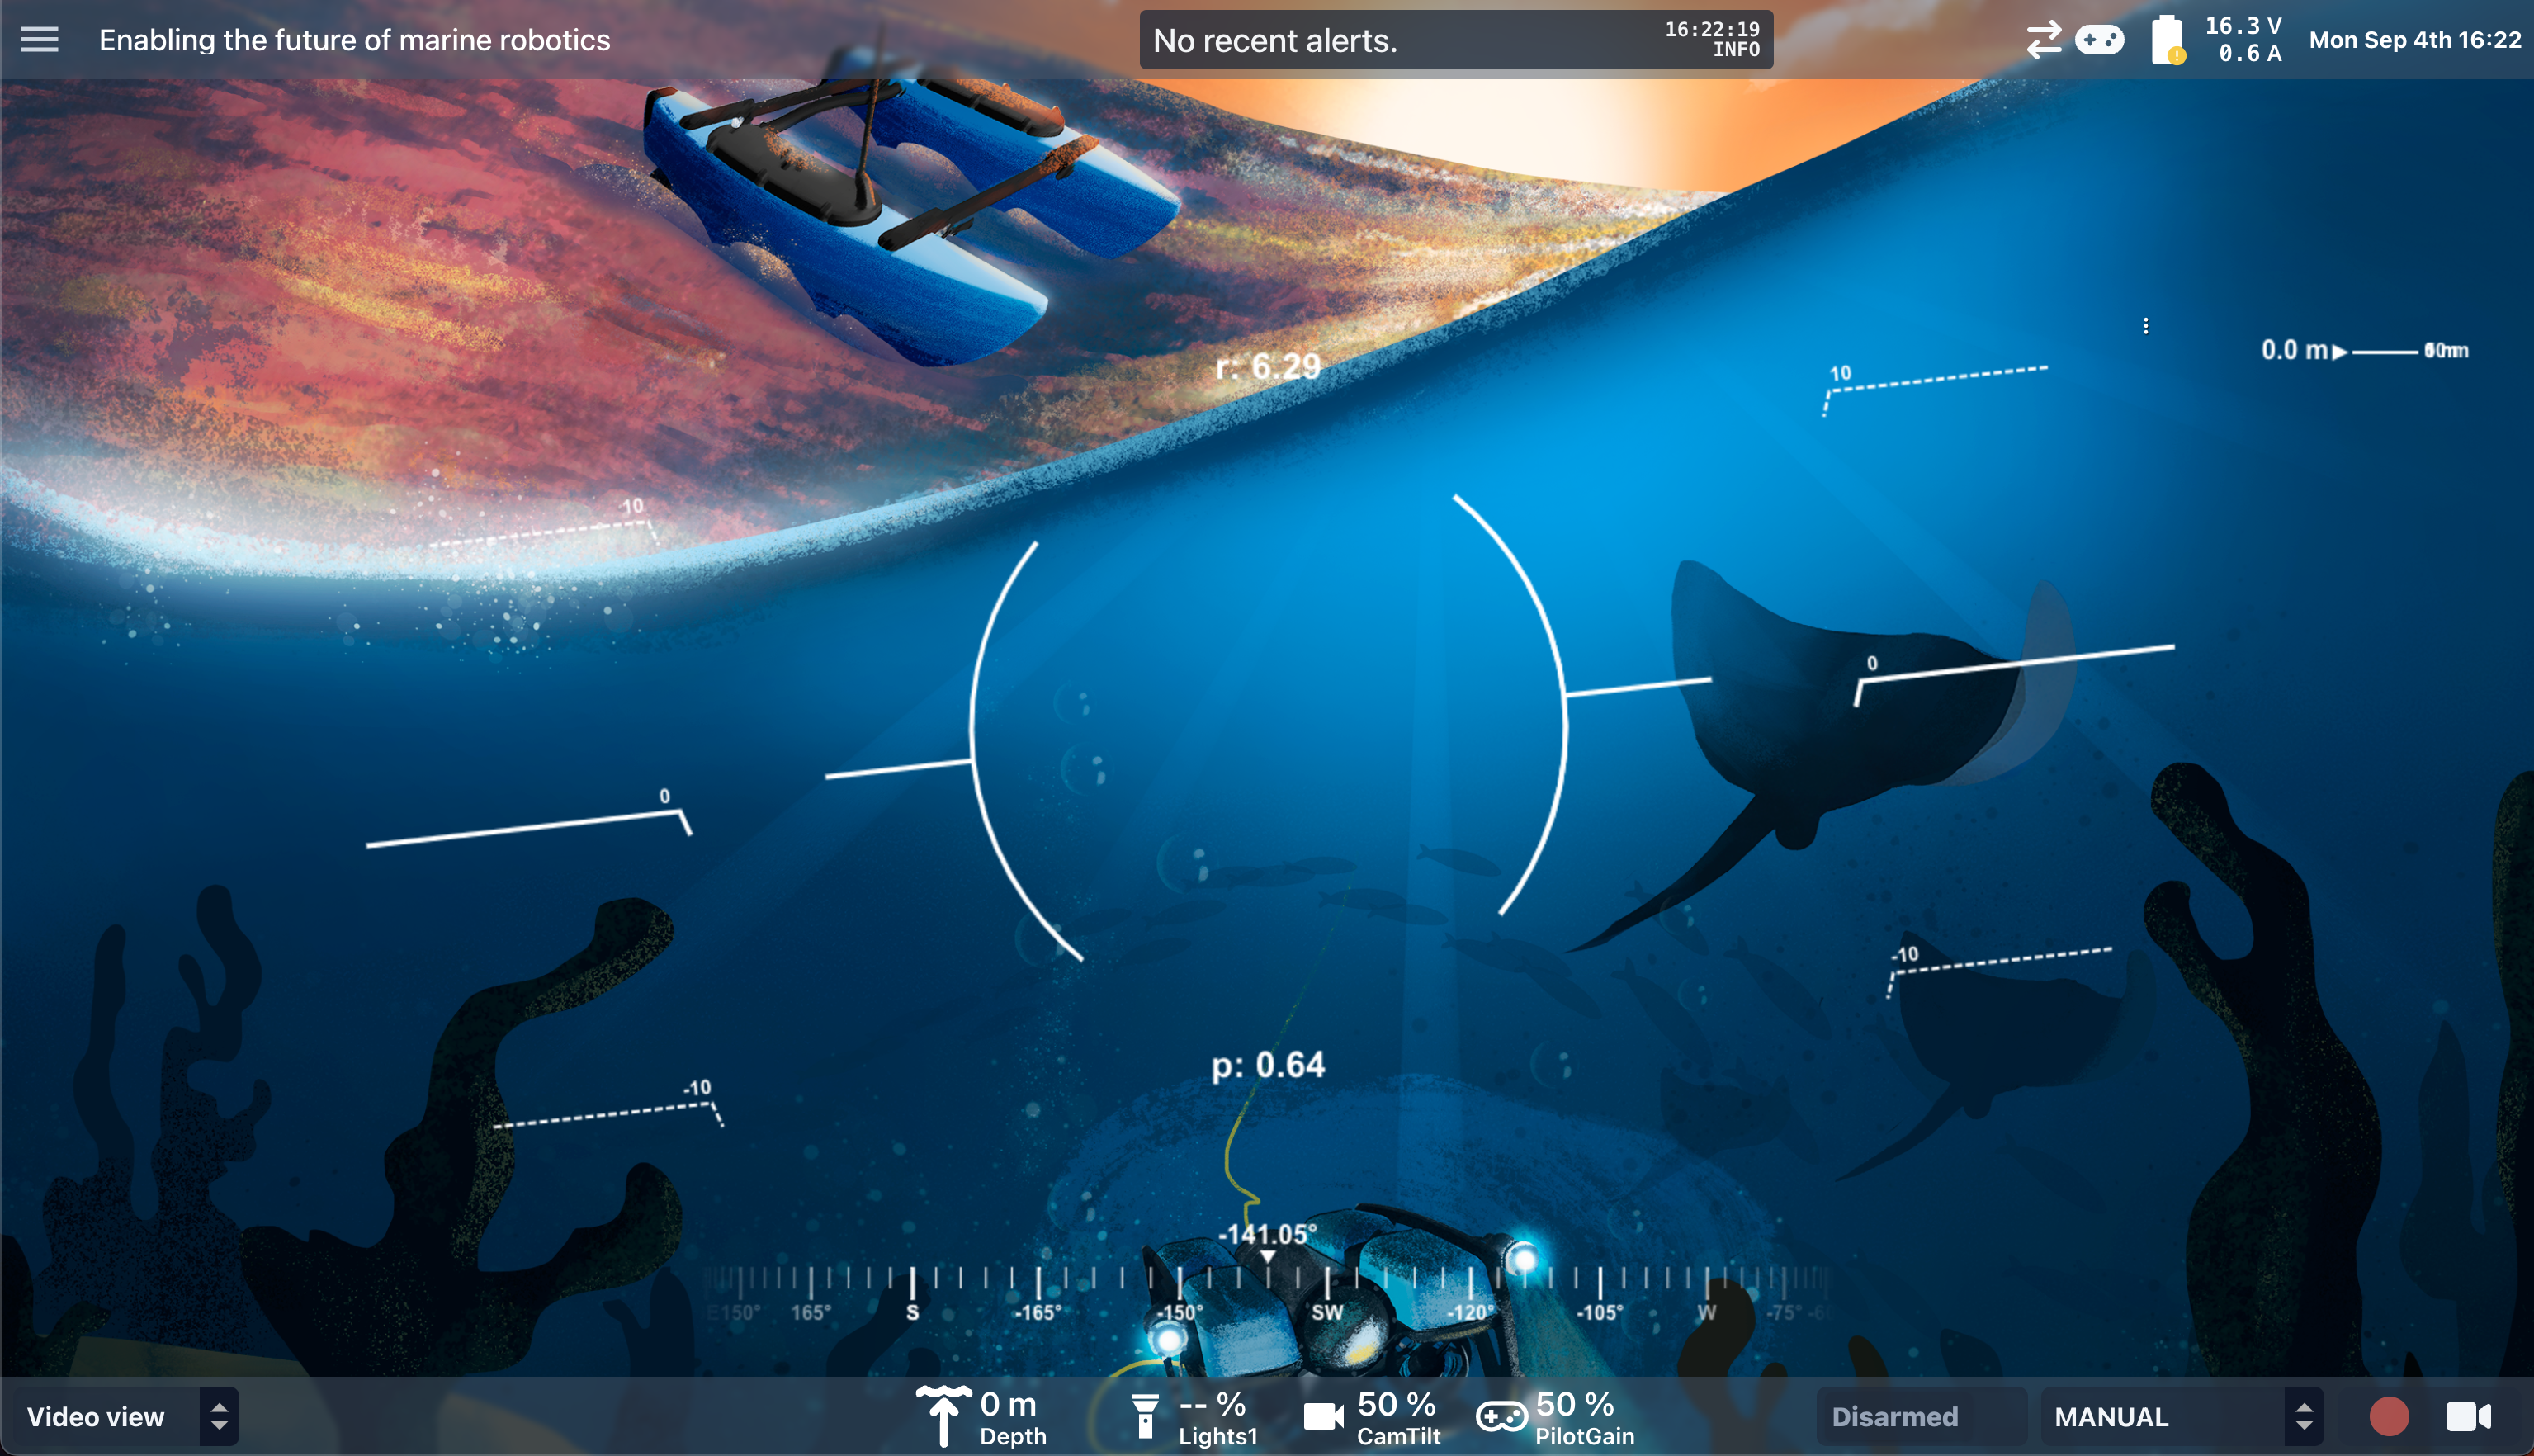
One of the most popular extensions for BlueOS is Cockpit, allowing the pilot of the BlueROV to control a joystick, stream video, and record it to disk all in the web browser.

Some profiles support integration with BlueOS Cockpit allowing the user to see the streams from the C3 camera module and take advantage of the native recording capabilities.
Please refer to the official documentation for usage of BlueOS Cockpit.
While not much configuration is required, refer to the documentation of the specific profile to see how to enable the Cockpit interface. A user typically needs to select the "Madrona" video source in the interface to view the stream.
Tips and Tricks
-
Use
decodebin: If you are unsure of the stream type, use thedecodebinelement to automatically detect and decode the stream. -
Use
autovideosink: If you want a quick window to display to see the stream, use theautovideosinkelement to automatically select the best video sink for your system. -
Add
rtpjitterbuffer: If you are experiencing jittery playback, add thertpjitterbufferelement to smooth out the stream. Adjust thelatencyparameter to increase or decrease the buffer size in milliseconds. -
Adjust
speed-preset: To adjust the performance and quality of H264 encoding, adjust thespeed-presetparameter in thex264encelement. The options are:ultrafast,superfast,veryfast,faster,fast,medium,slow,slower,veryslow, andplacebo. -
Adjust
quality: To adjust the quality of the JPEG encoding, tune thequalityparameter in thejpegencelement. The range is from 0 to 100, with 100 being the highest quality (zero compression).